

Salesforce
Connect Salesforce to Trustle to get insight into over-privileged and unused accounts, and to adopt just-in-time access management.
Configure Salesforce
Section titled “Configure Salesforce”Step 1: Create an App Integration
Section titled “Step 1: Create an App Integration”-
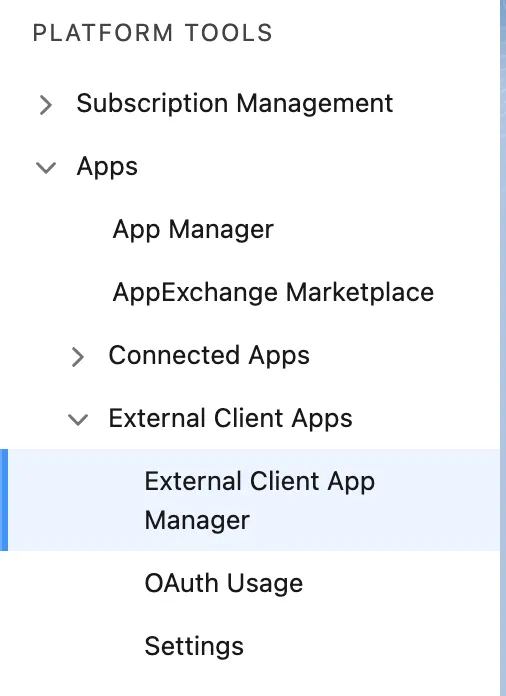
Go to Setup → Apps → External Client Apps → External Client App Manager.
-
Click New external client app.

-
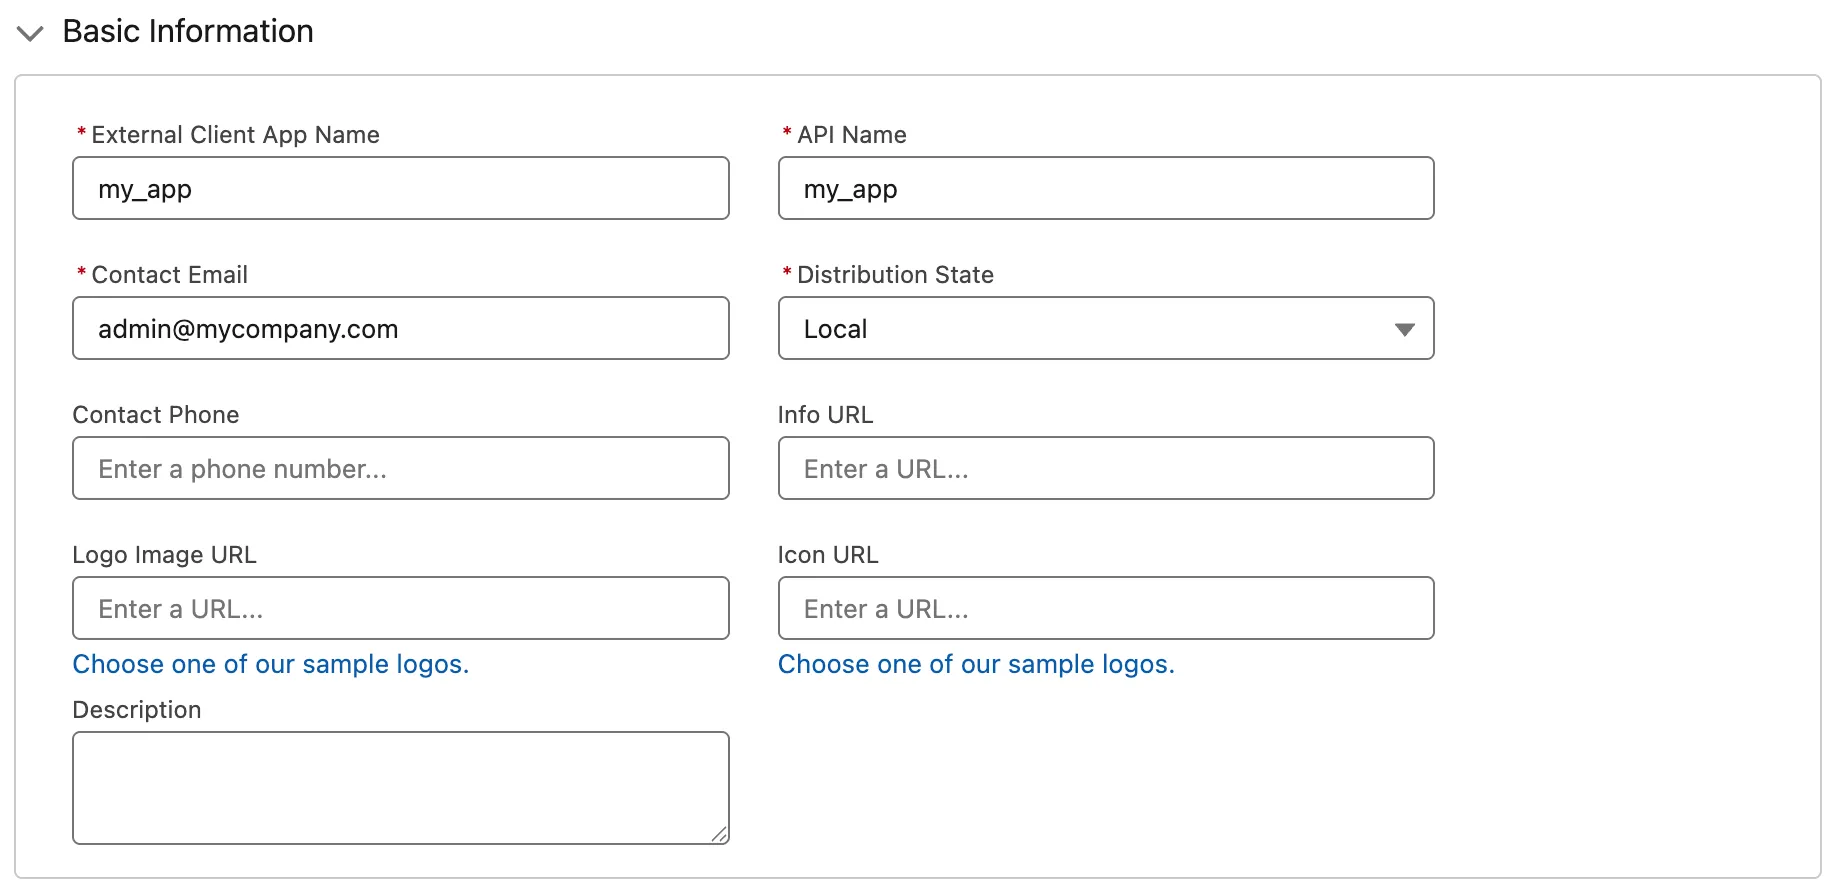
Fill in the required fields under Basic Information.
-
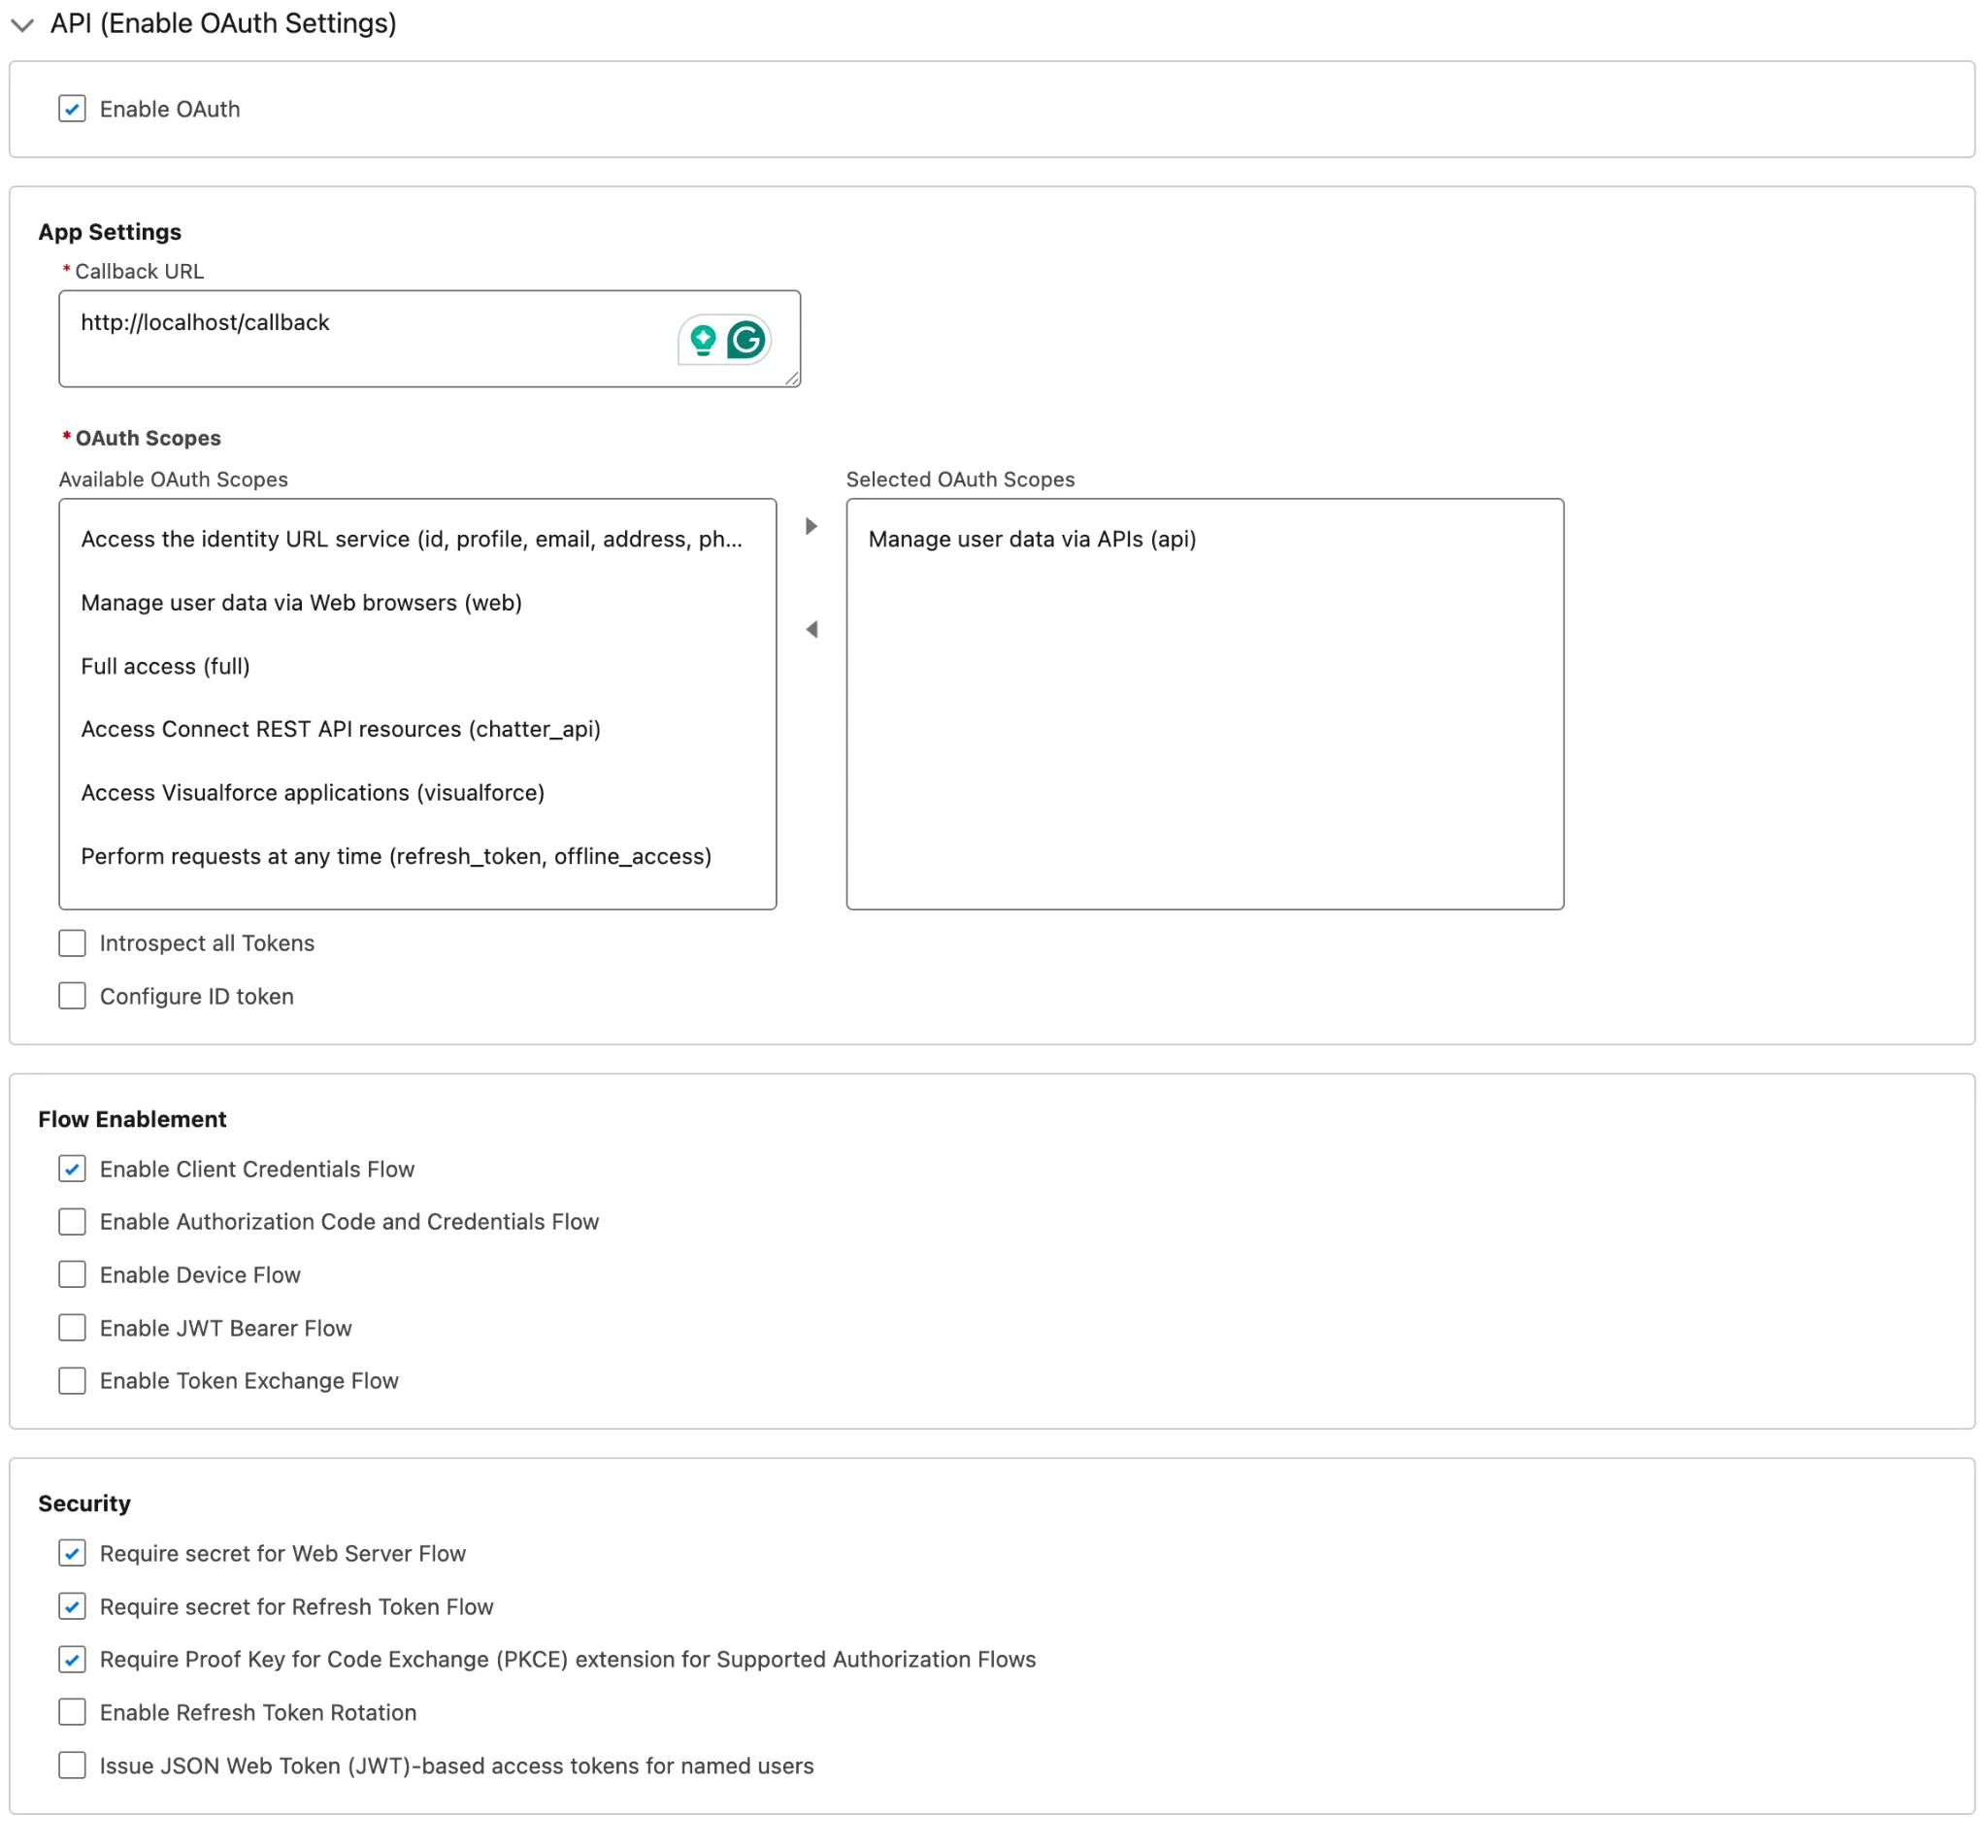
Enable OAuth settings under API → Enable OAuth, and set:
- Callback URL:
https://console.trustle.io/salesforce-callback. Trustle doesn’t use this URL, but Salesforce requires it. - OAuth Scopes: Manage user data via APIs (
api). - Flow Enablement: Enable Client Credentials Flow.
- Security: Keep the defaults.
- Callback URL:
-
Create the app.
Step 2: Create the Service Account Permission Set
Section titled “Step 2: Create the Service Account Permission Set”-
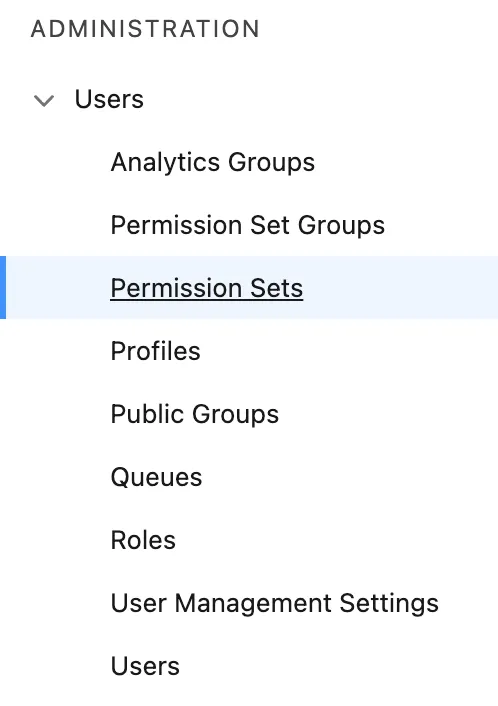
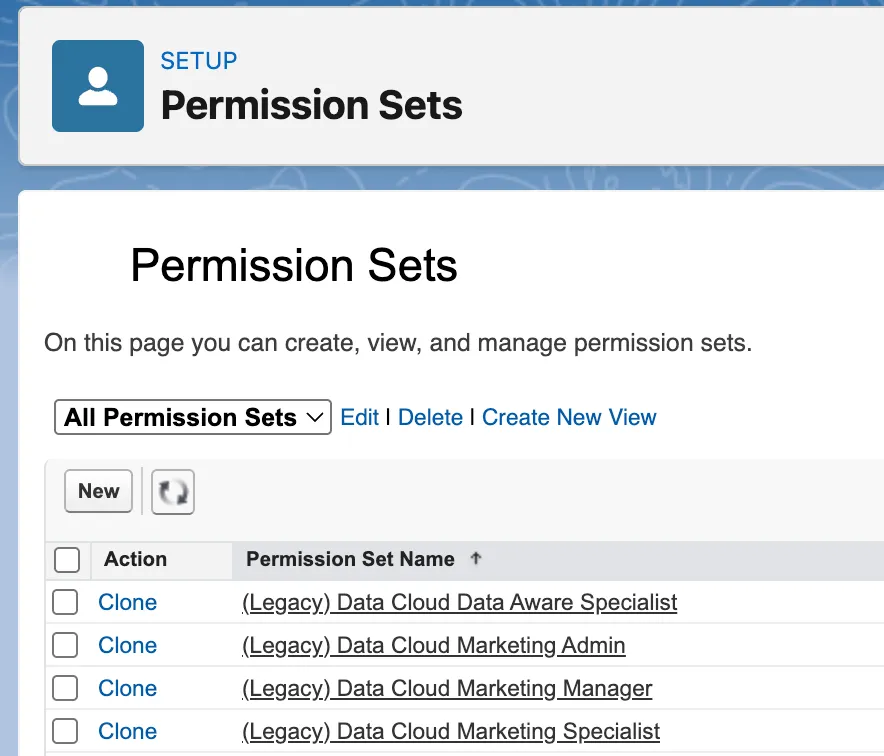
Go to the Permission Set panel (Administration → Users → Permission Set).
-
Click New at the top of the table.
-
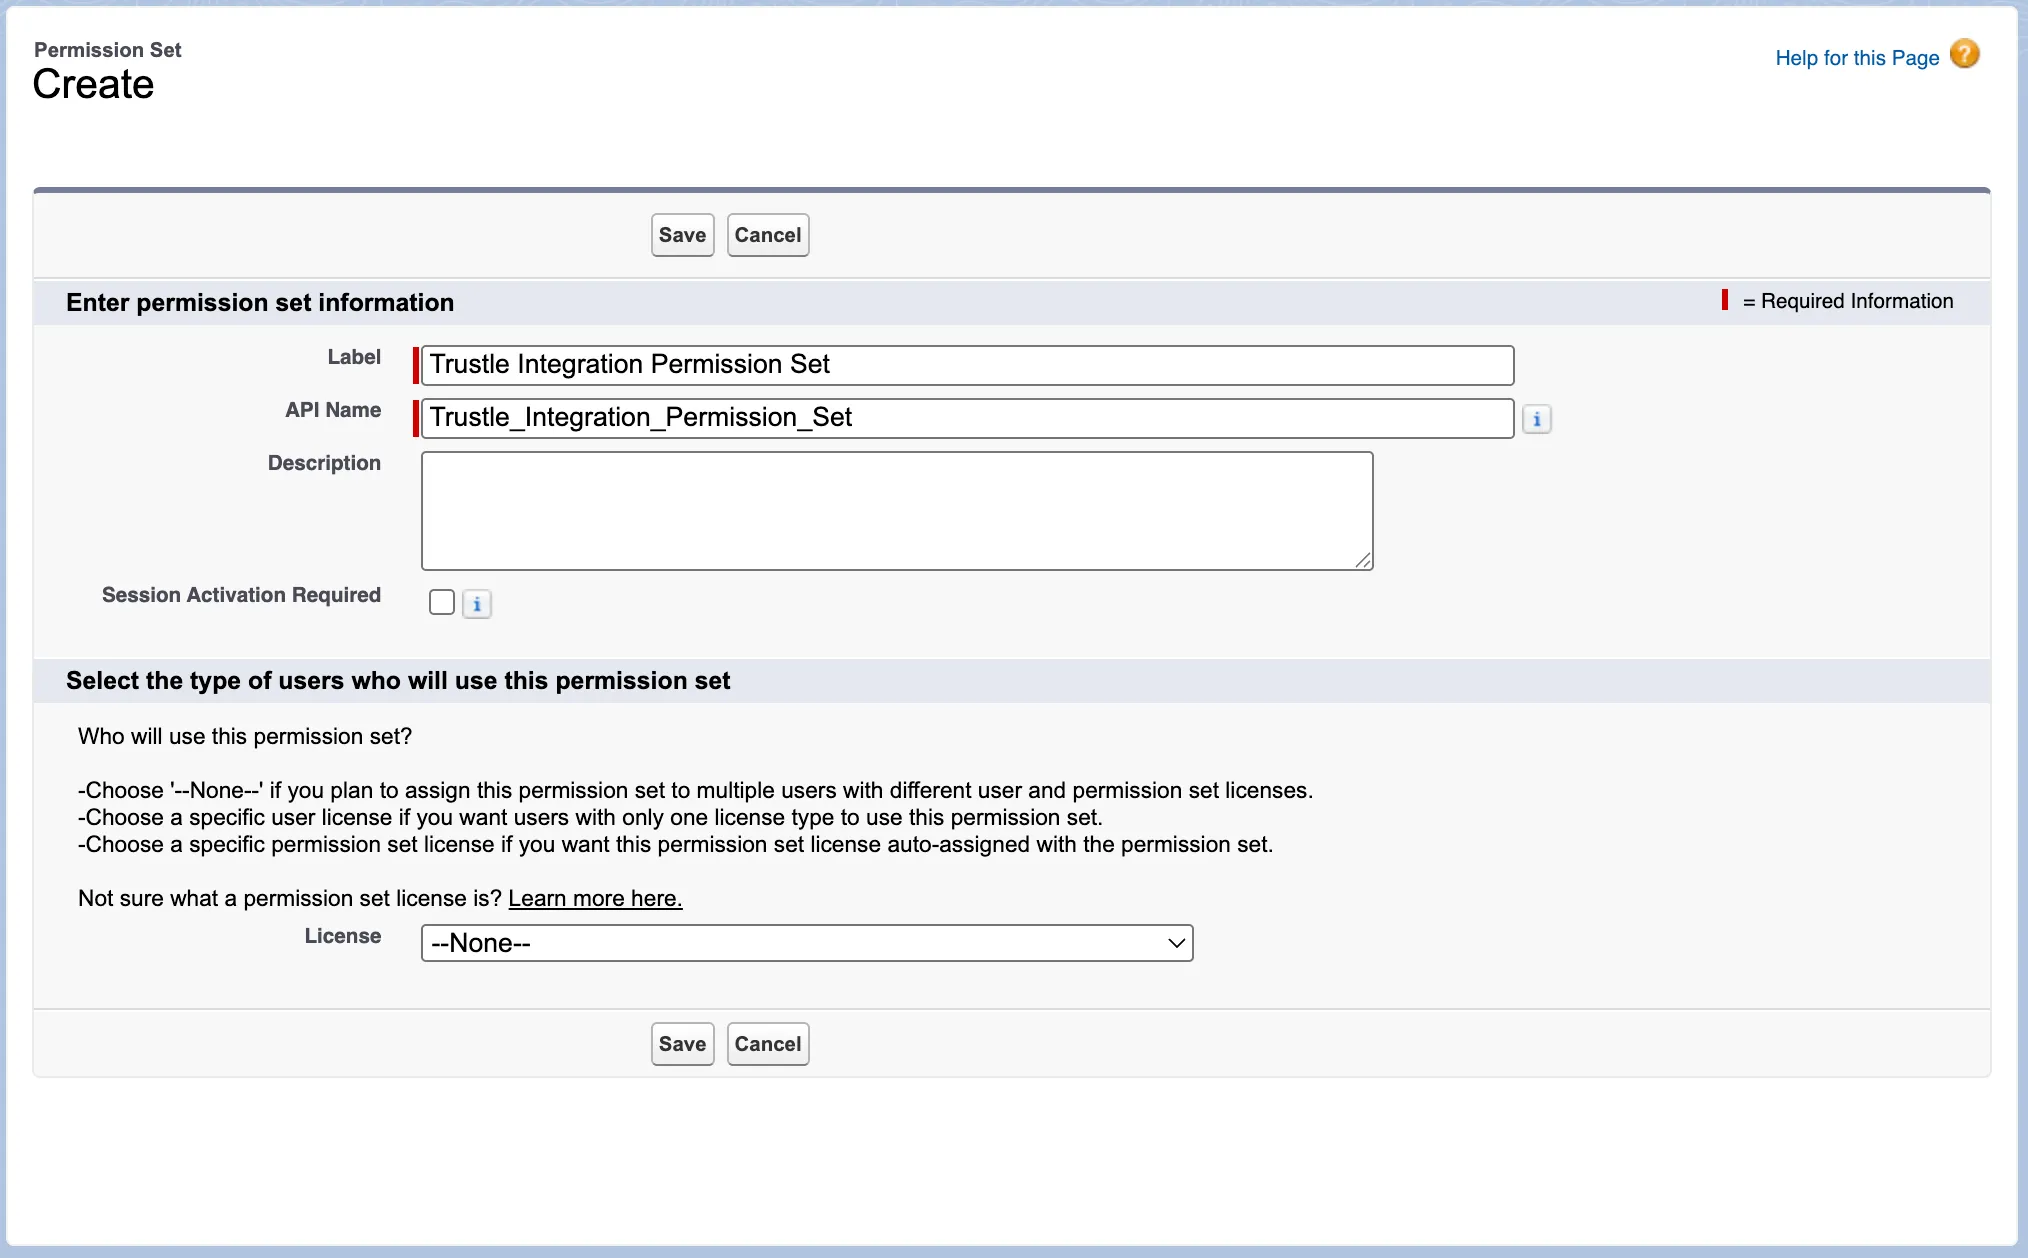
Give the permission set a name, for example “Trustle Integration Permission Set”.
-
Save it.
-
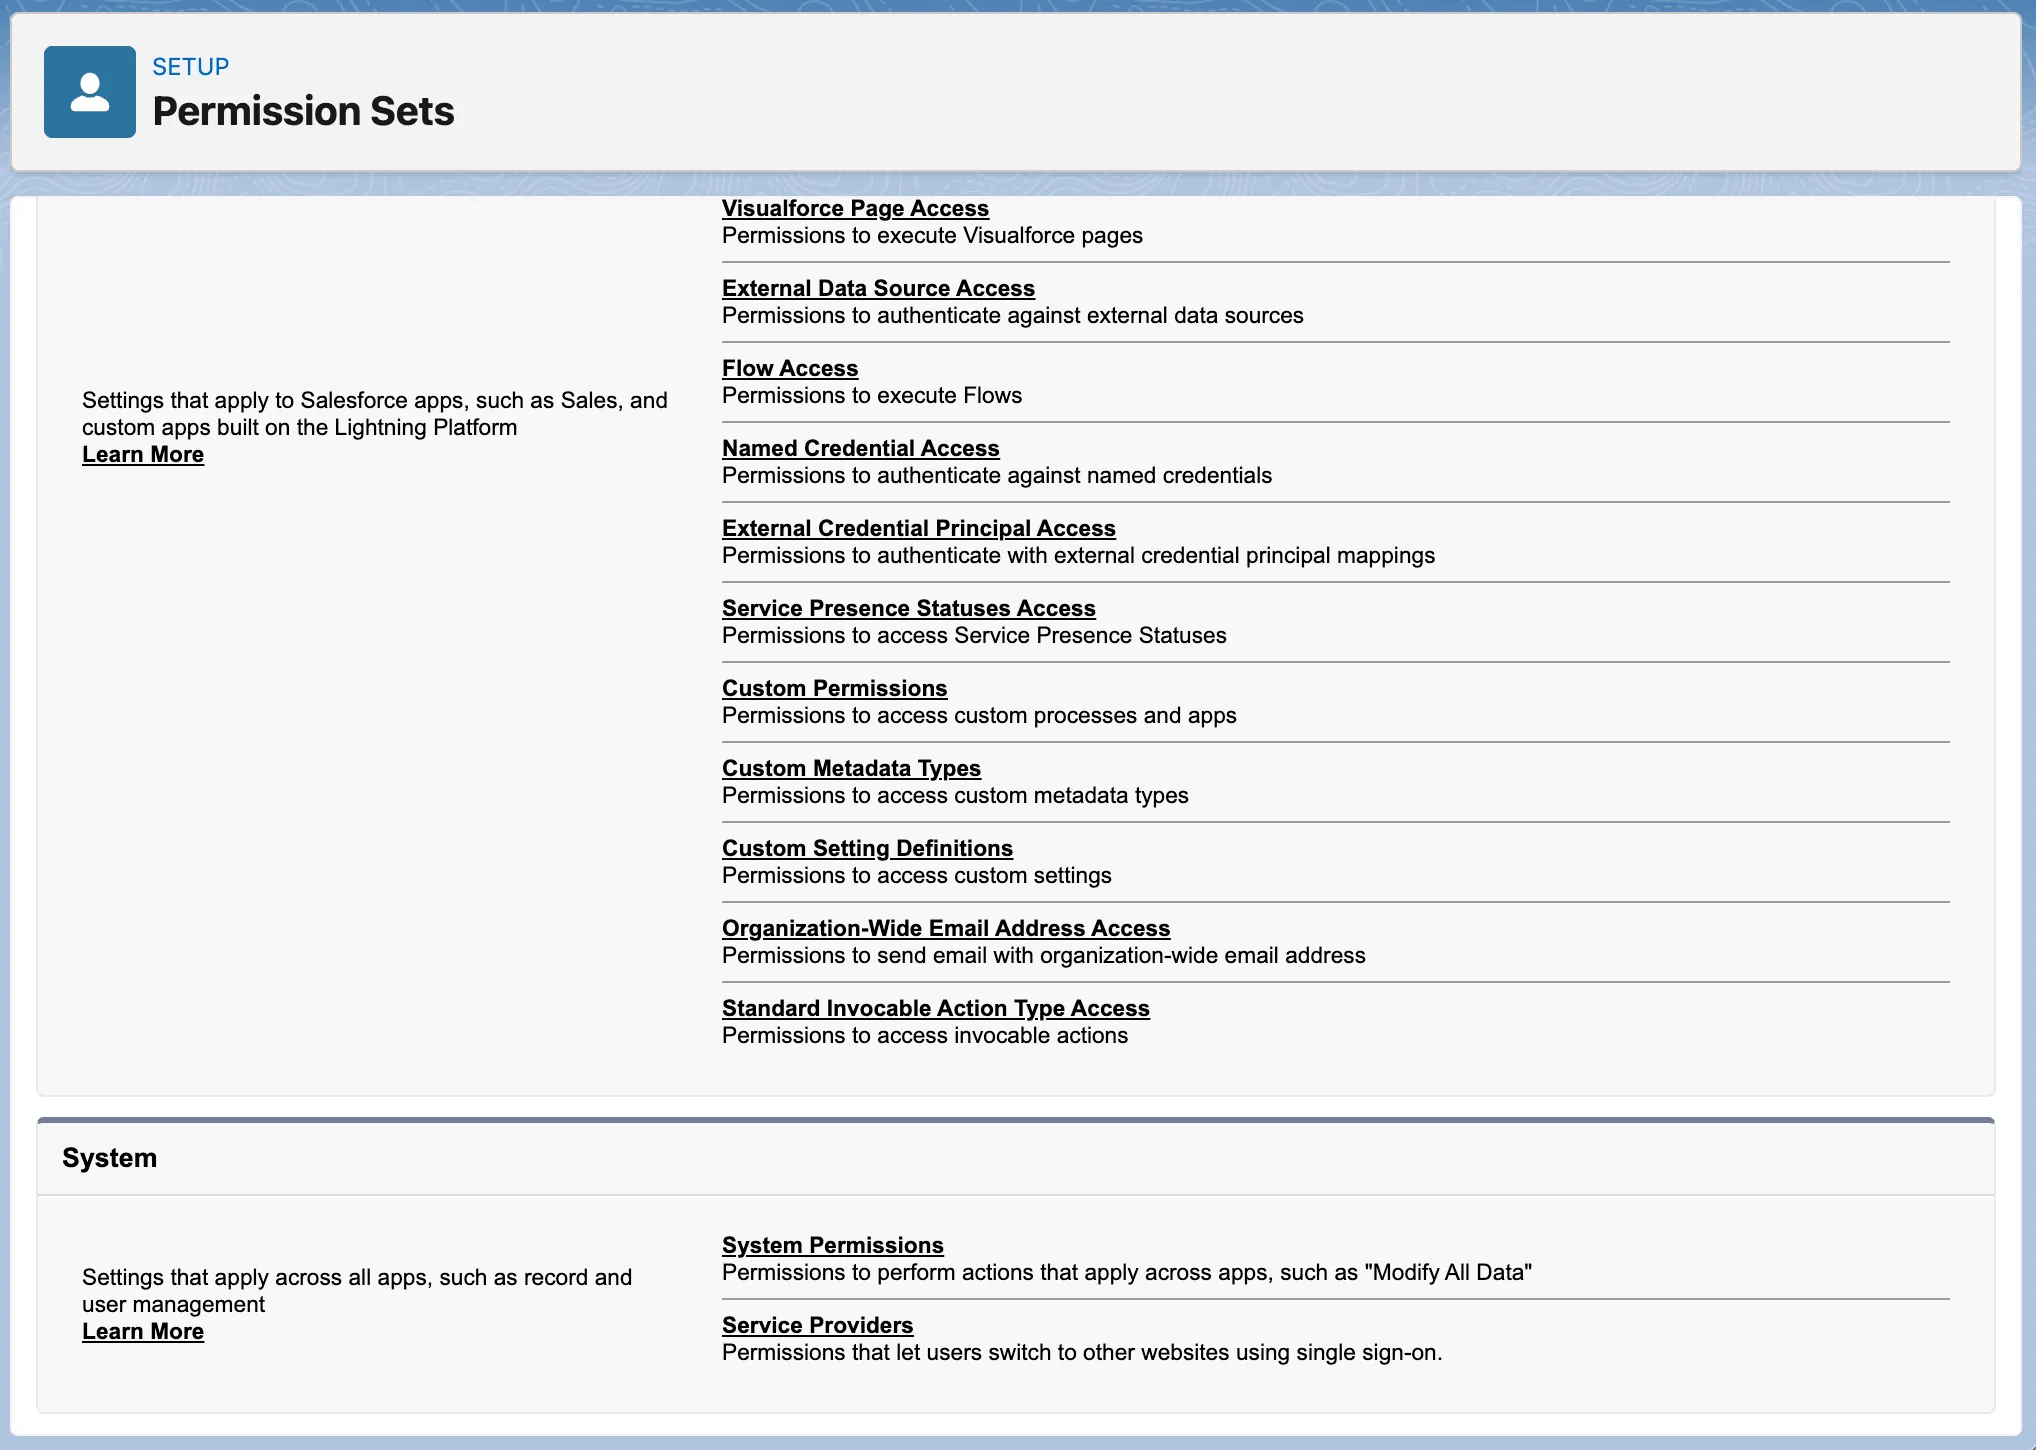
Go to System → System Permissions on the new permission set’s page.
-
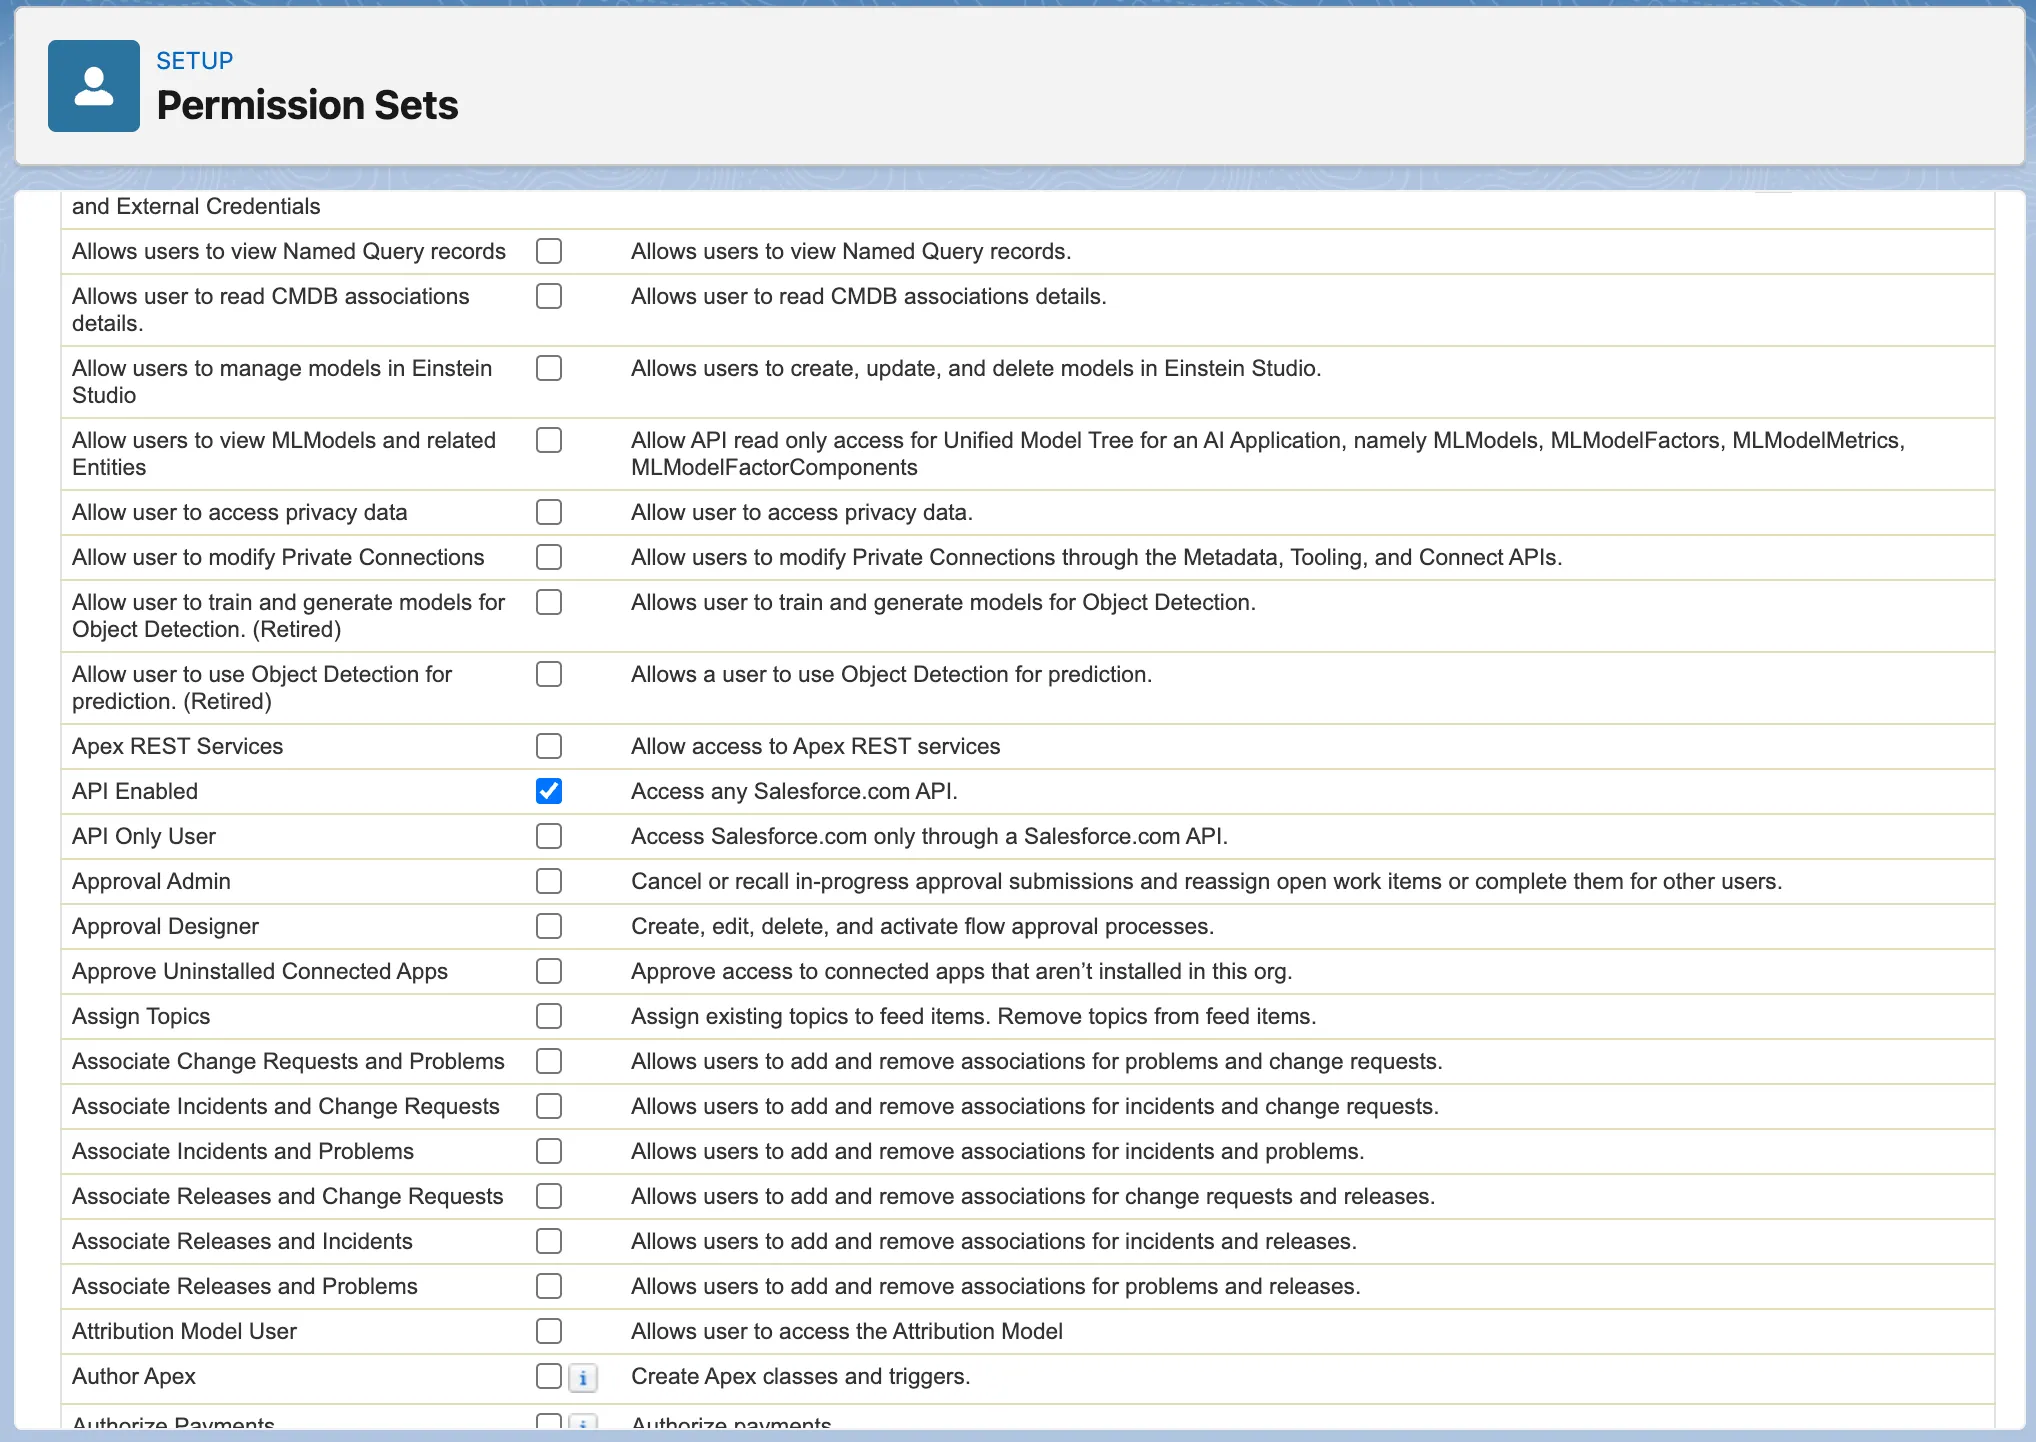
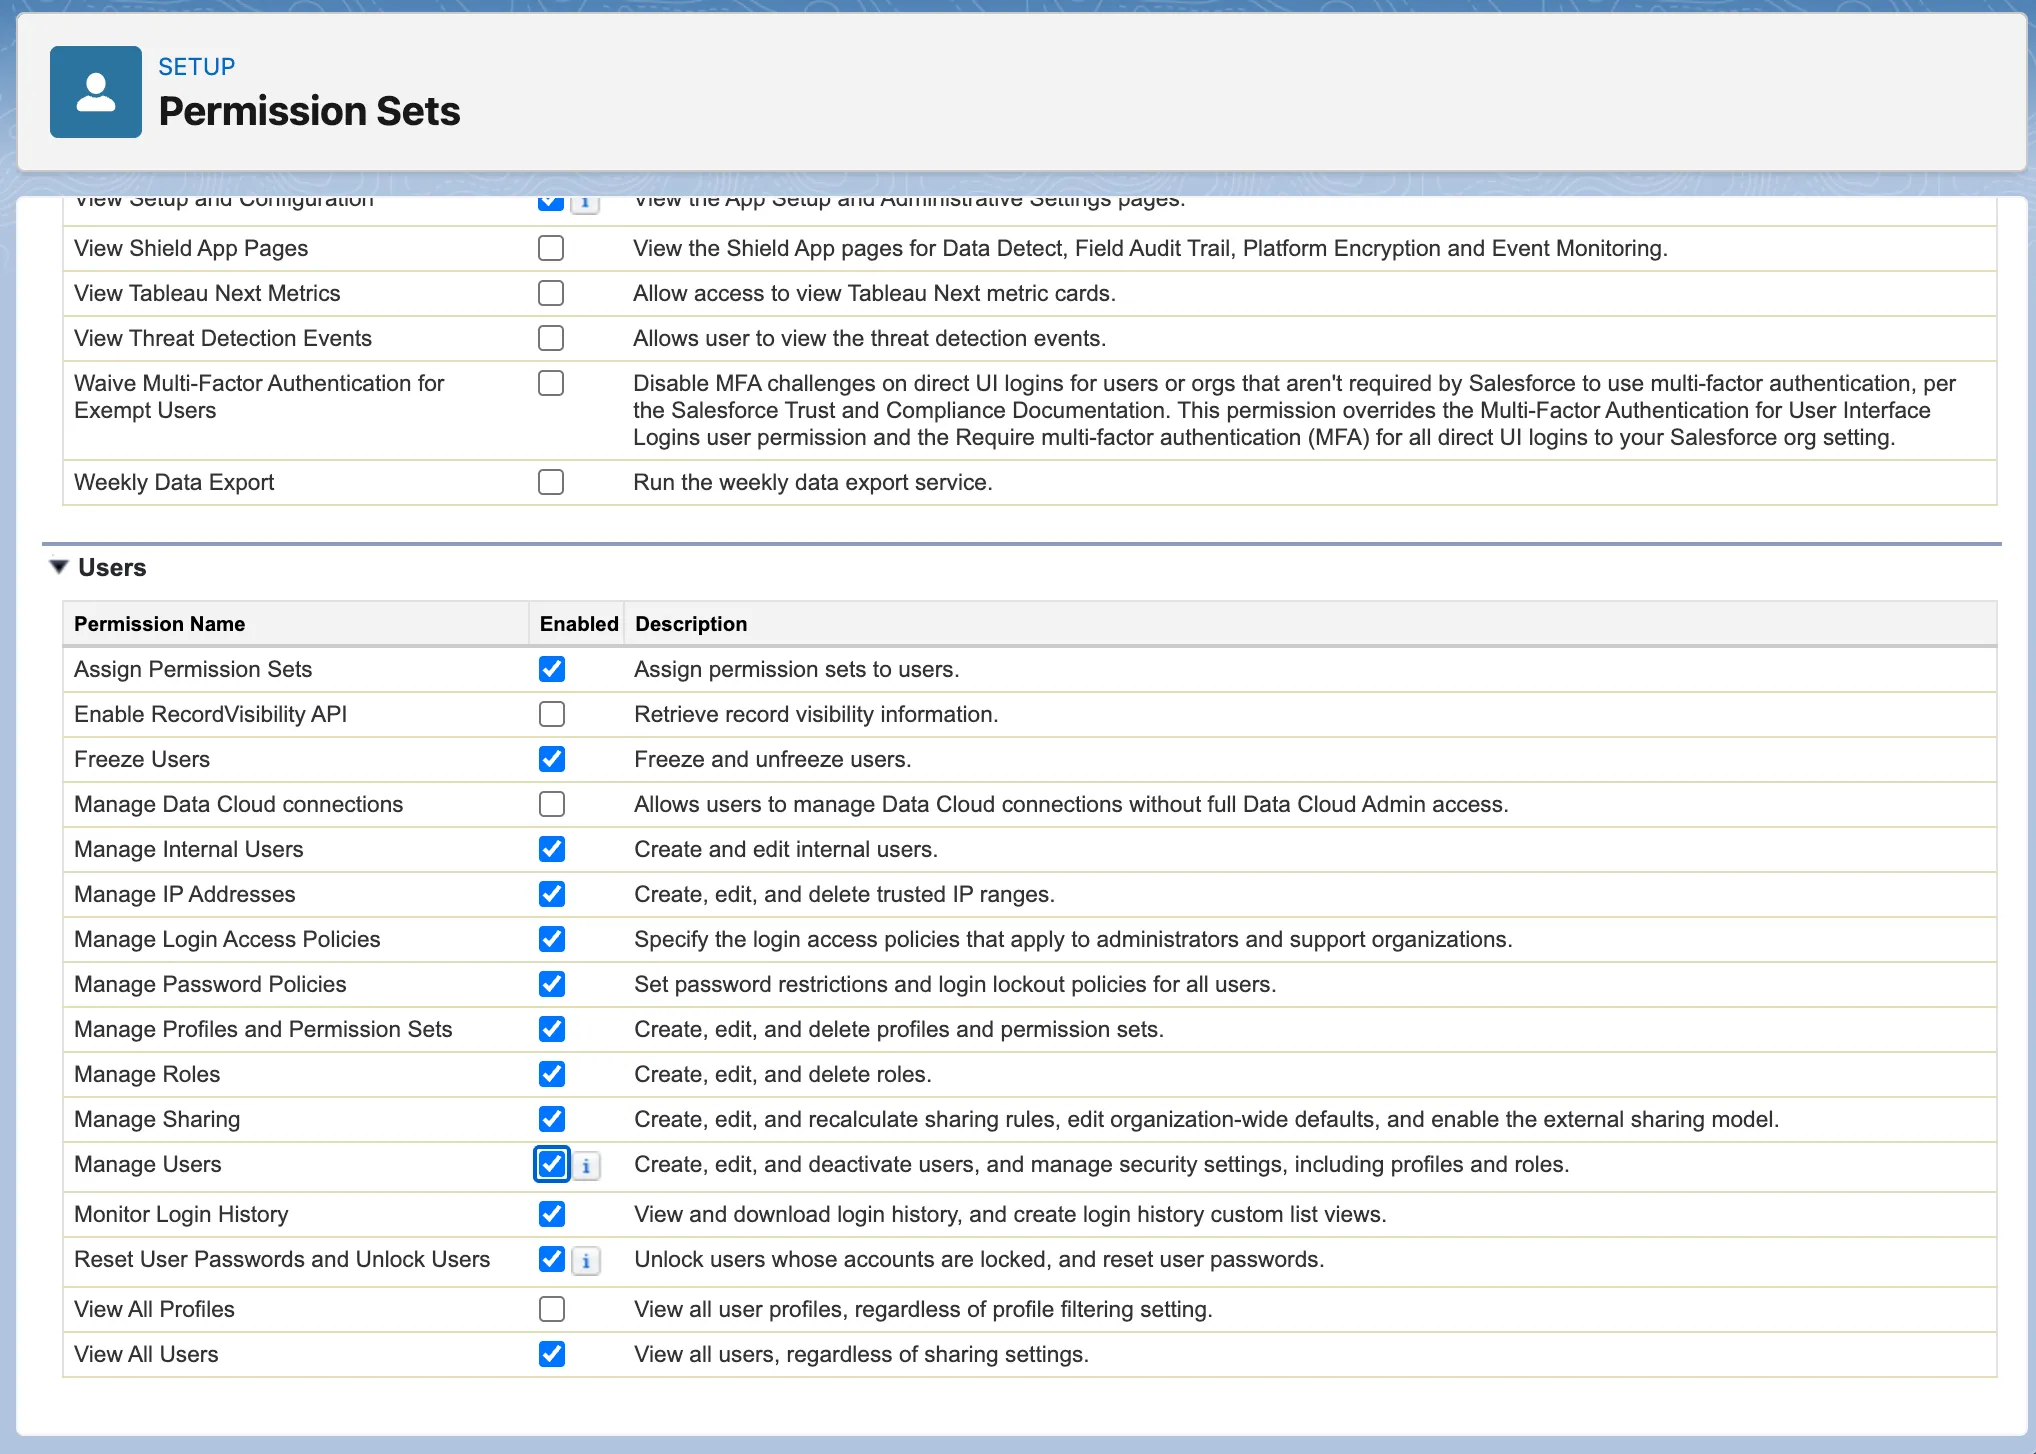
Edit the permissions and enable Api Enabled.
-
Enable Manage Users too (Users → Manage Users).
-
Save it.
Step 3: Create and Configure the Service Account
Section titled “Step 3: Create and Configure the Service Account”-
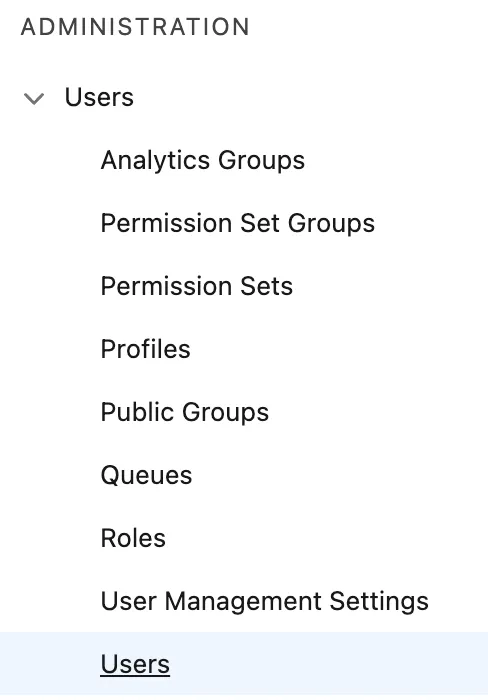
Go to the Users Administration page (Administration → Users → Users).
-
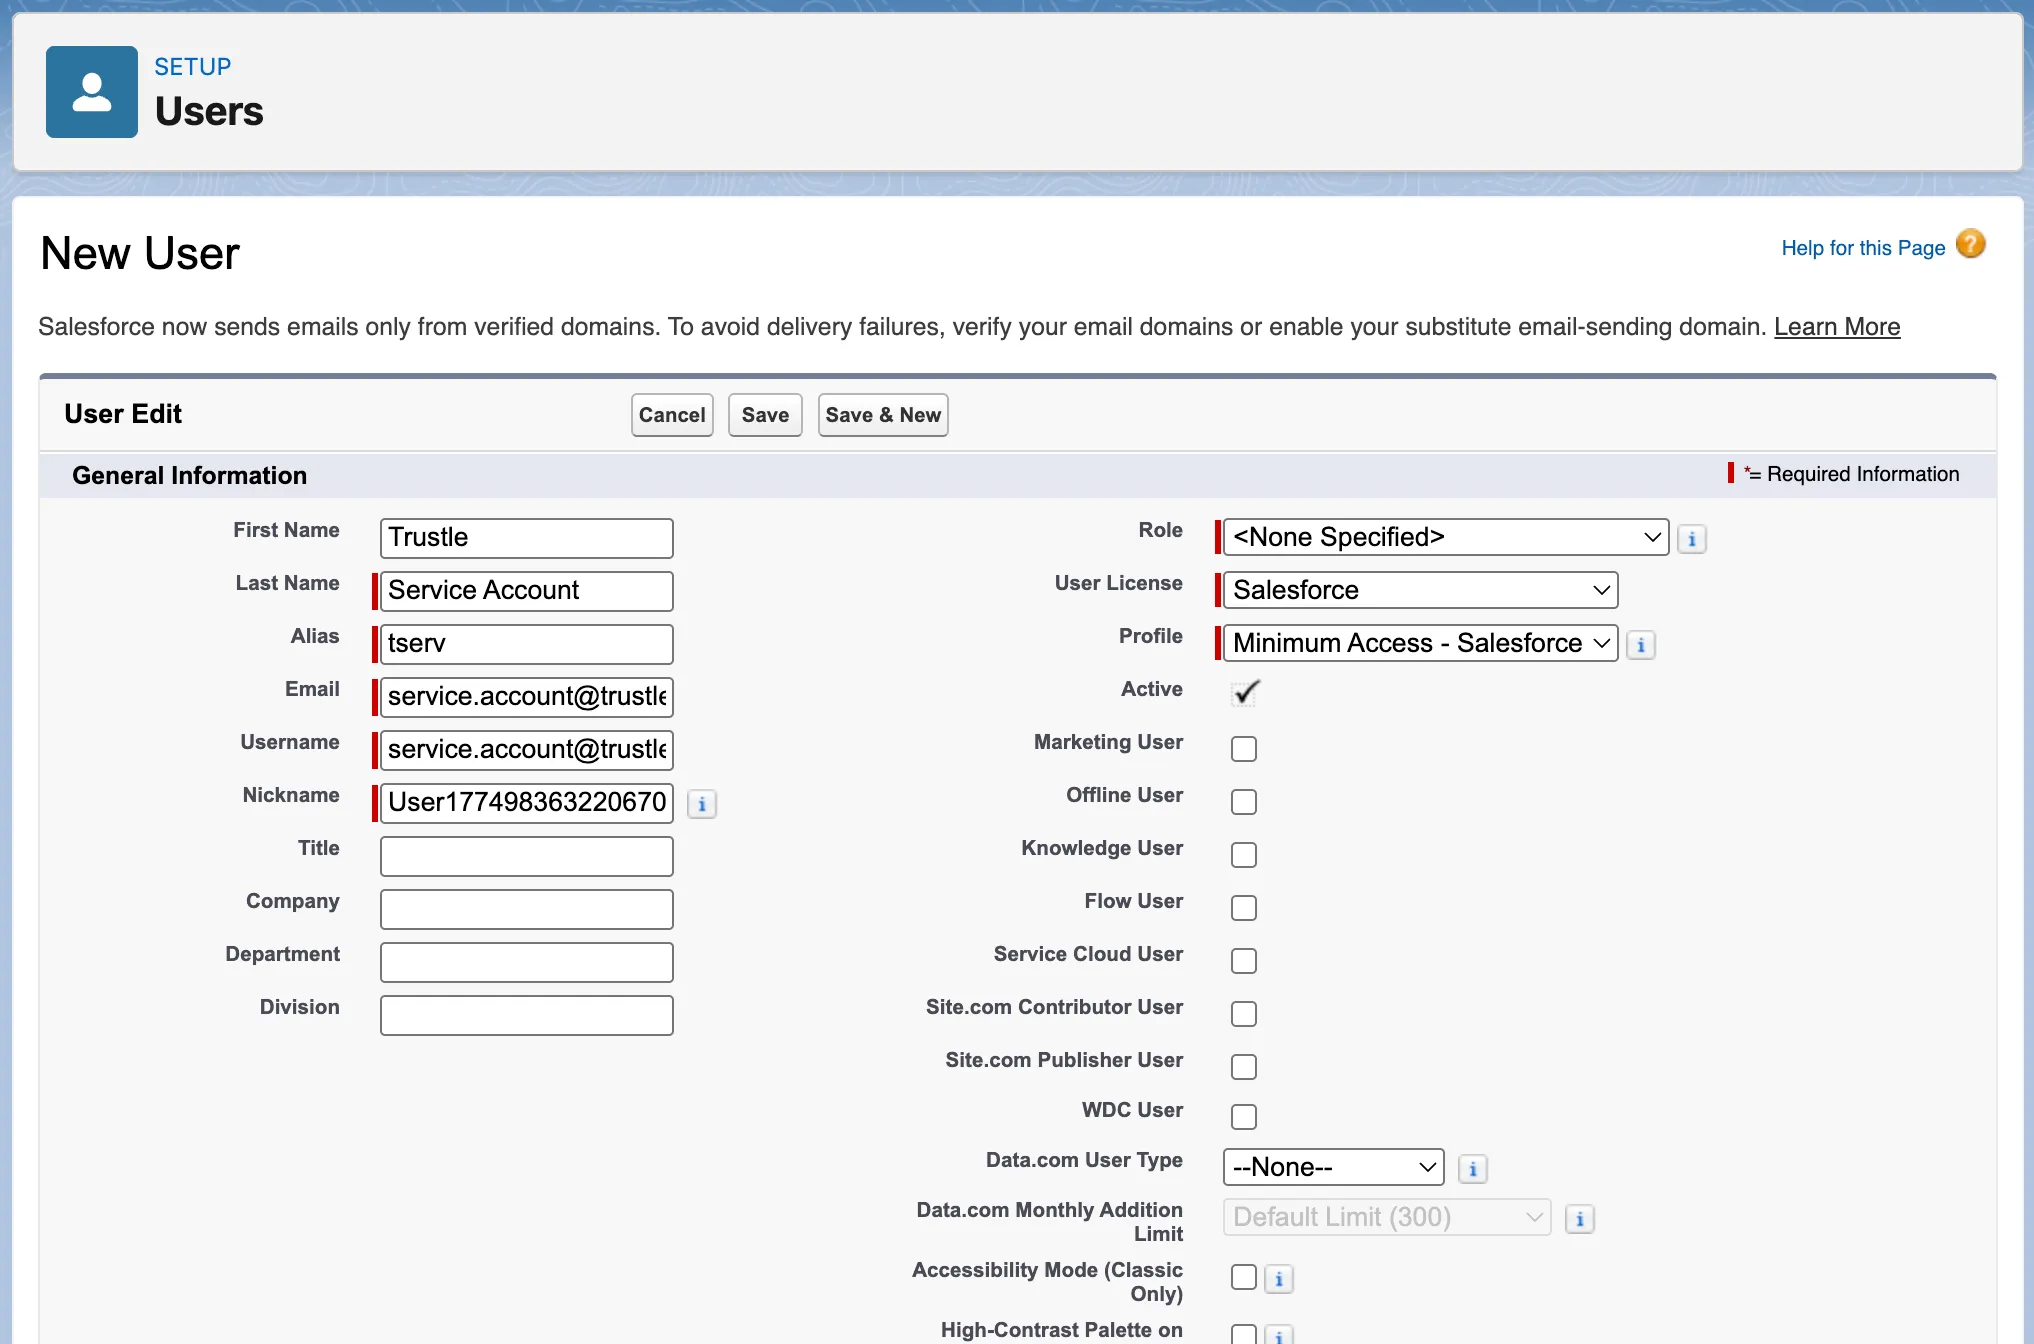
Create the service account user. Set it to the Minimum Access - Salesforce profile (Salesforce User License).
-
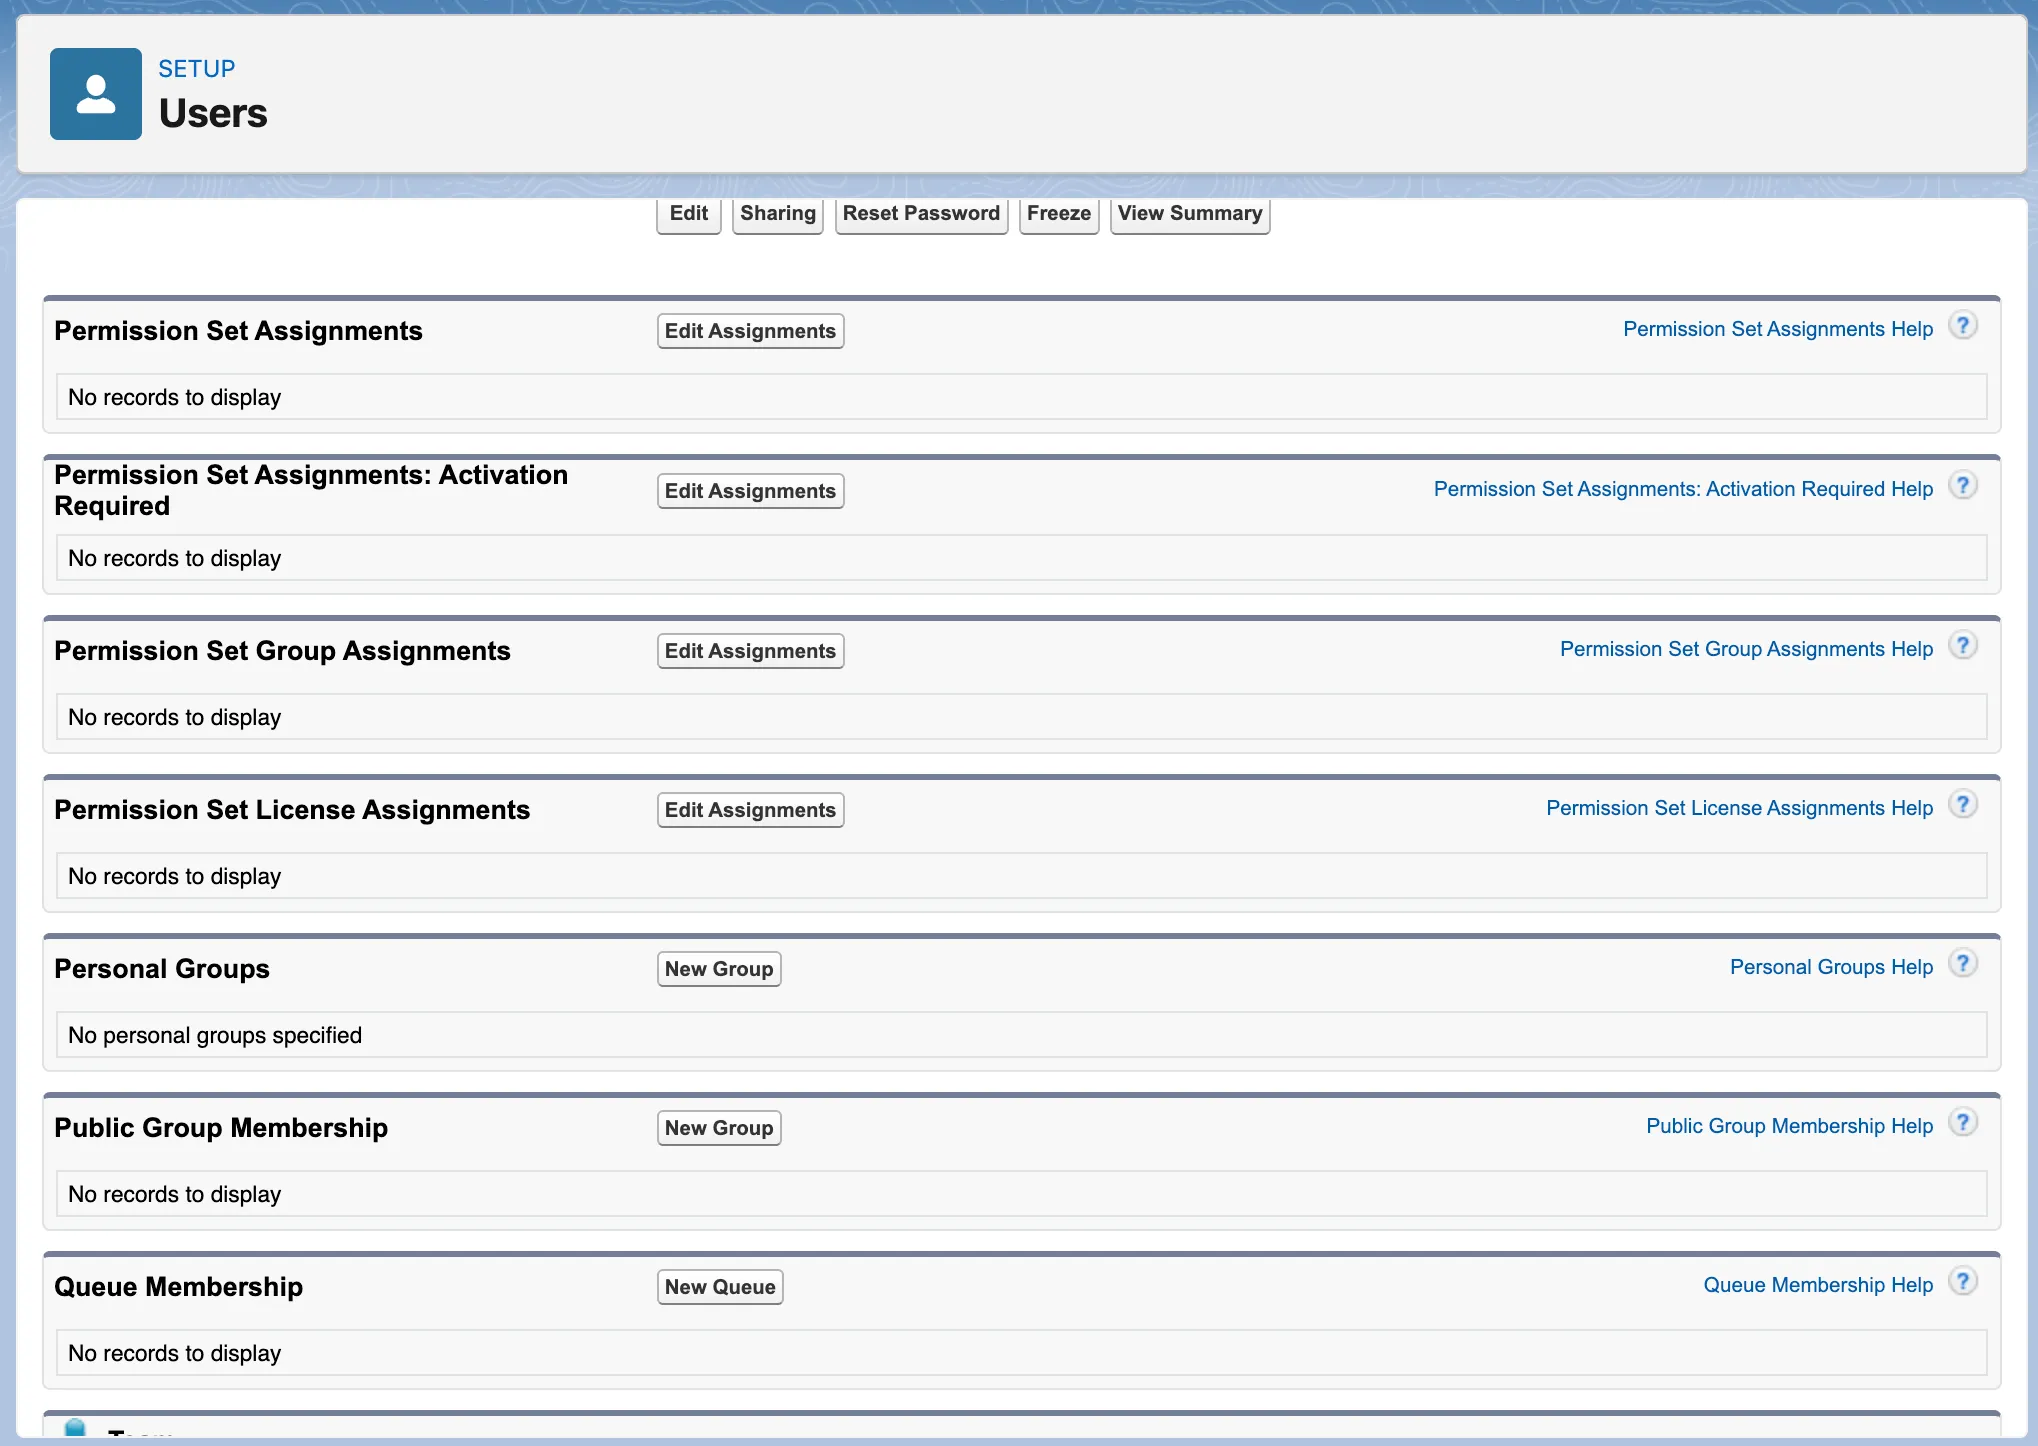
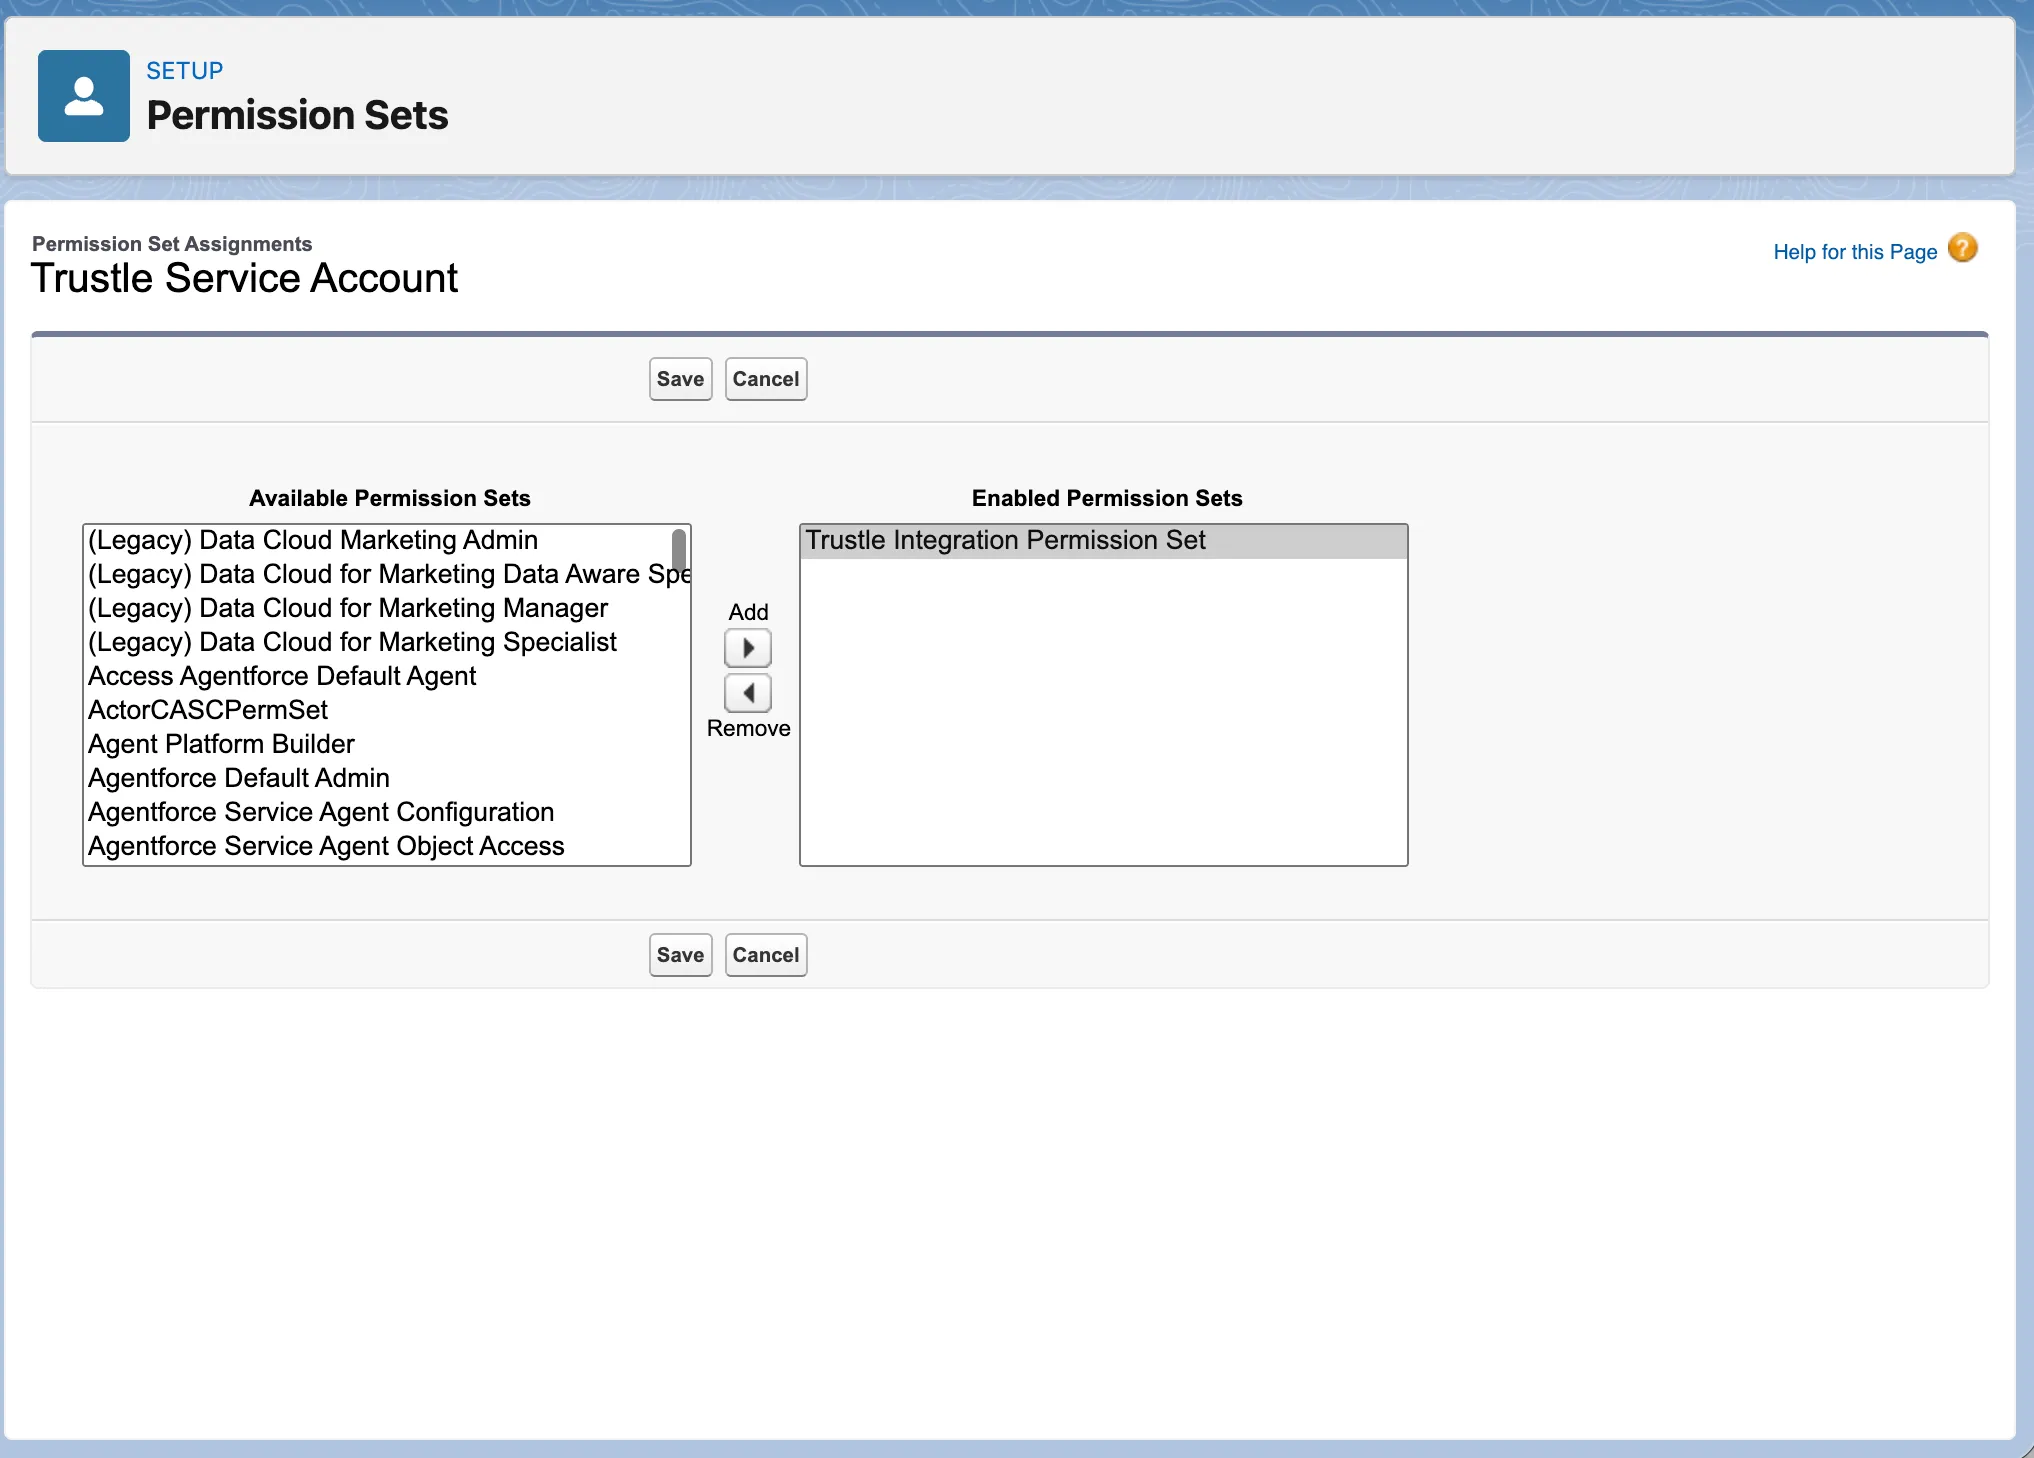
Go to the service account user’s page after you create the user. Add the permission set there (User → Permission Set Assignments → Edit Assignment).
-
Add the Trustle permission set and save it.
Step 4: Update the External Client App Policies
Section titled “Step 4: Update the External Client App Policies”-
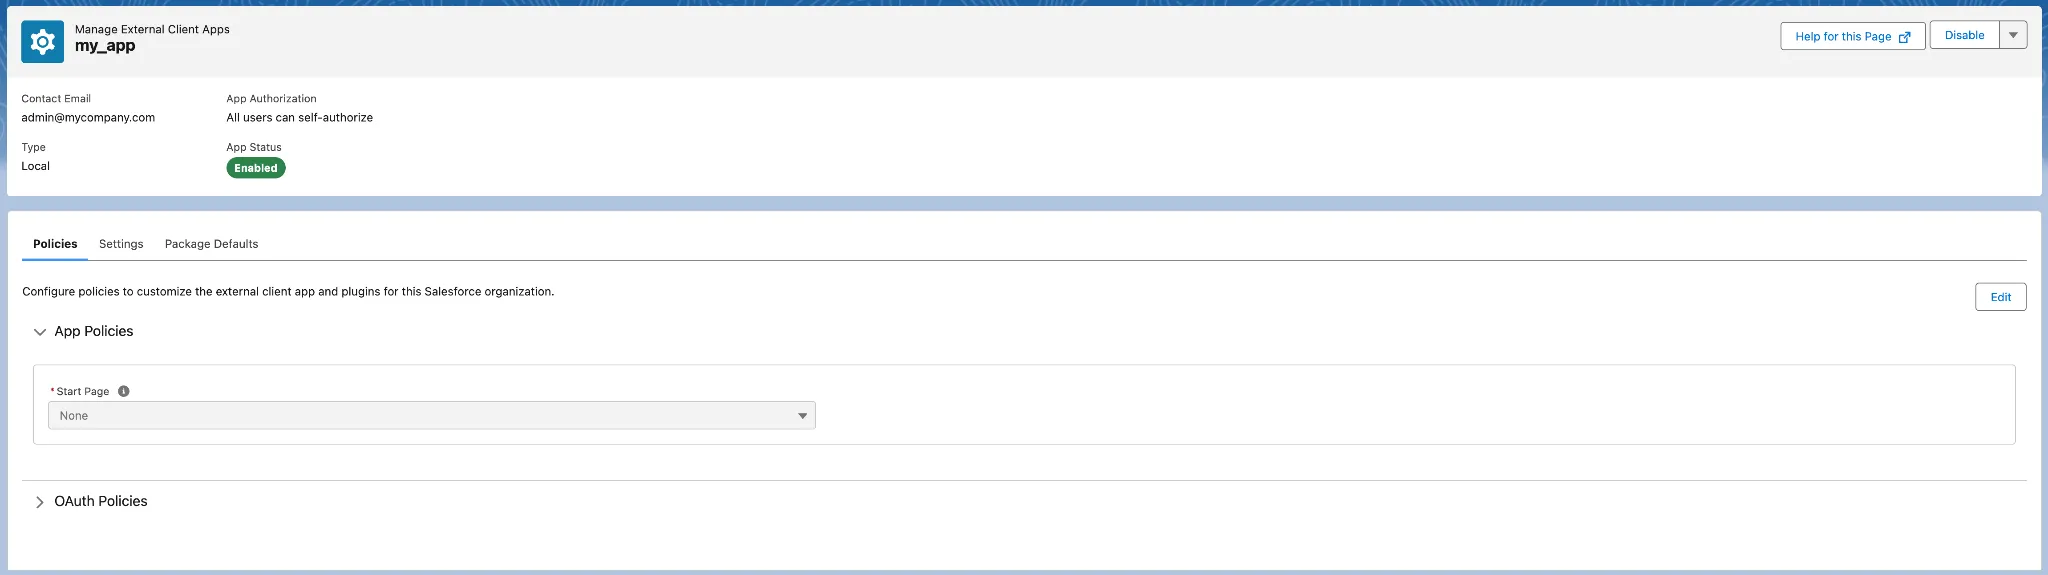
Open the external client app page. Salesforce redirects you here after you create the app.
-
Click to edit the policies.

-
Enable the Client Credentials Flow and set Run As (Username) to the Trustle service account.

Step 5: Get the App Credentials
Section titled “Step 5: Get the App Credentials”-
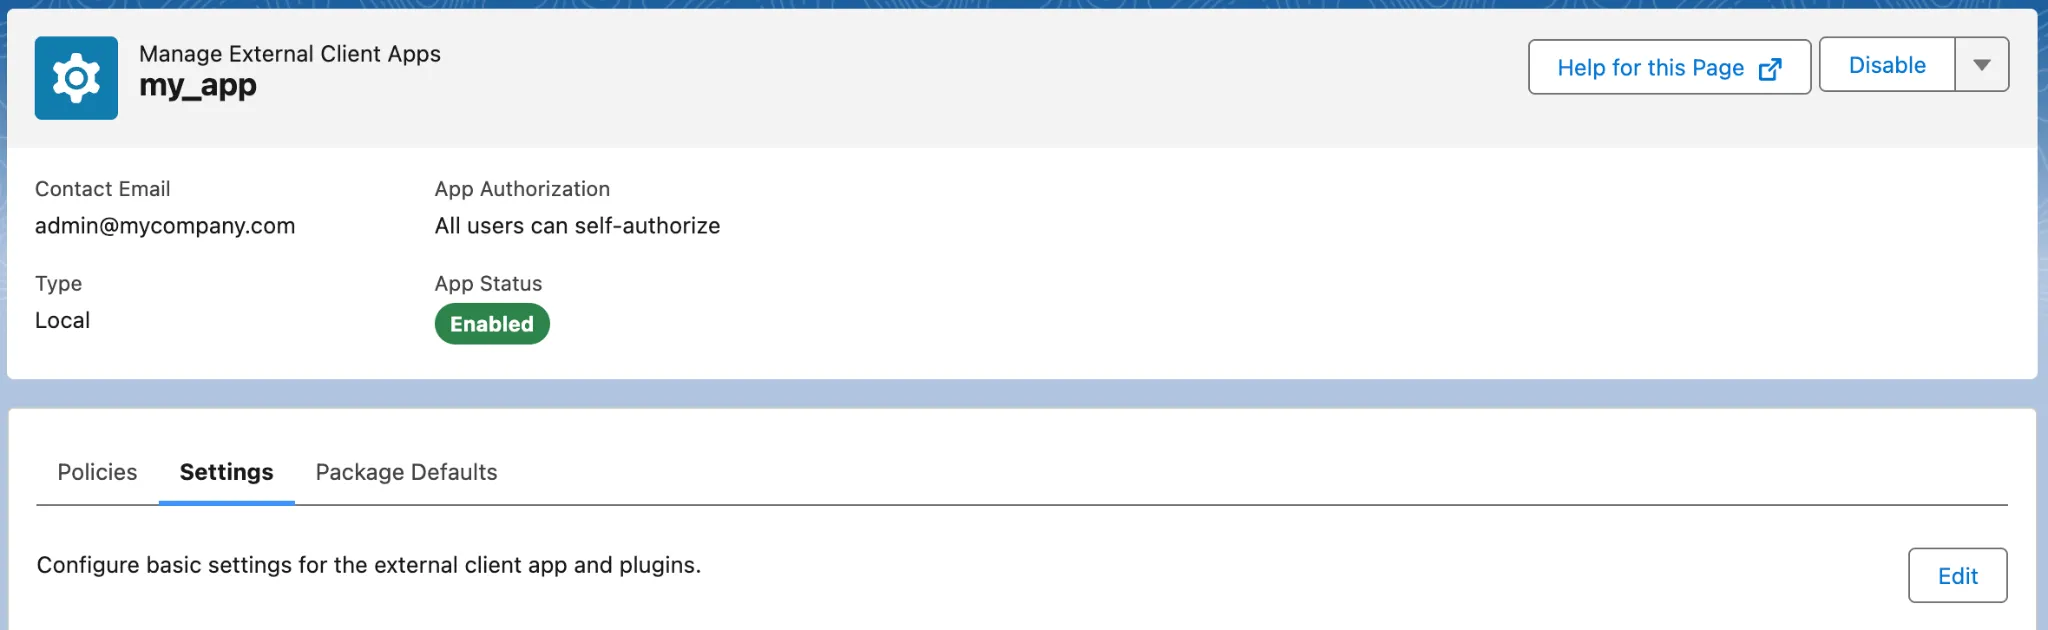
Go to the Settings tab on the external client app page.
-
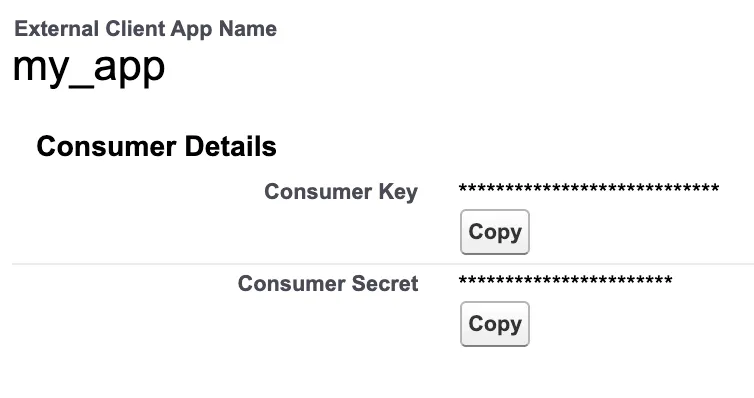
Open OAuth Settings and click the button to get the Consumer Key and Secret.

-
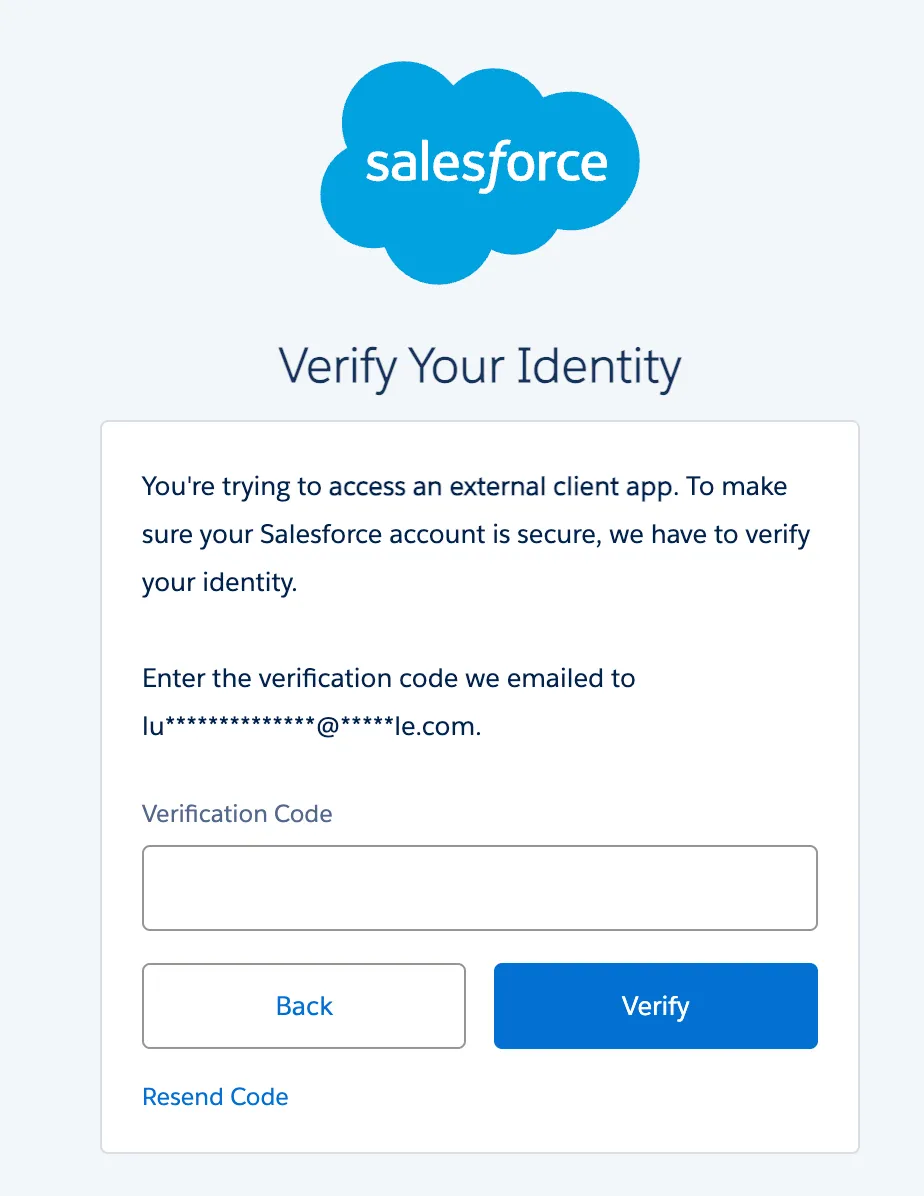
Verify your identity.
-
Get the Consumer Key and Consumer Secret.
Step 6: Get the Company Domain
Section titled “Step 6: Get the Company Domain”-
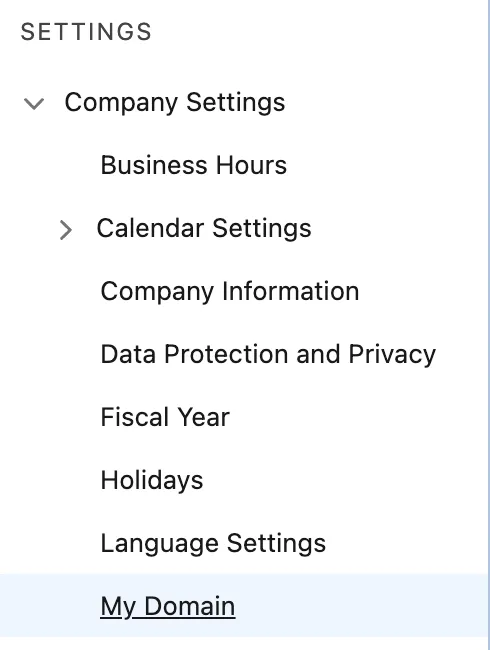
Go to Setup → Settings → My Domain.
-
Find the My Domain Details section on this page.

-
The domain is the part of your Current Domain URL before
.salesforce.com.For example, if the Current My Domain URL is
orgfarm-5a7dad8e67-dev-ed.develop.my.salesforce.com, the domain isorgfarm-5a7dad8e67-dev-ed.develop.my.
Connect in Trustle
Section titled “Connect in Trustle”- Go to the Connections page in Trustle from the left menu.
- Under Identity Providers, find the Salesforce logo and click Connect.
- Provide the Consumer Key and Consumer Secret from Get the App Credentials, and the domain from Get the Company Domain.
- Click Test Connection.
- Click Save Connection after the connection test succeeds.