Google Cloud Platform
GCP best practices require a service account so Trustle can manage your users and IAM policies through the APIs. Assign minimal, specific permissions to a custom role. This lets Trustle manage all your GCP projects without super administrator access.
Prerequisites
Section titled “Prerequisites”For Trustle:
- The JSON key file for the Trustle service account, downloaded during setup.
For Google Cloud Console:
- Project IAM Admin or Owner permissions, to create roles and service accounts.
- The IAM permissions listed below, to create the custom role.
Configure Google Cloud Platform
Section titled “Configure Google Cloud Platform”Step 1: Create the Custom Role
Section titled “Step 1: Create the Custom Role”- Navigate to IAM & Admin.
-
Sign in to the Google Cloud Console.
-
Search for IAM & Admin in the search bar and select the result.

-
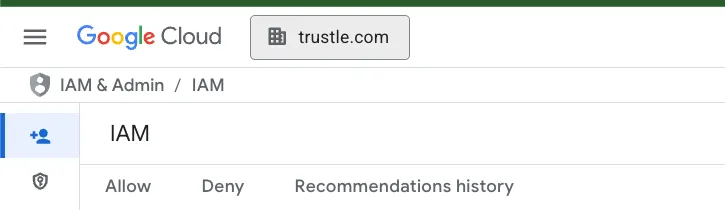
Make sure your organization is selected from the dropdown list, not a project or folder.
-
Click the navigation menu (☰) in the top-left corner.
-
Navigate to IAM & Admin > Roles.
-
- Create a new role.
- Click + CREATE ROLE at the top of the page.
- In the Create Role form, fill in the following:
- Title: enter a descriptive name, for example
SaaS Integration Viewer. - Description: add a description, for example
Custom role for SaaS integration with read-only IAM permissions. - ID: this auto-generates from your title, or you can customize it.
- Role launch stage: select General Availability.
- Title: enter a descriptive name, for example
- Add the required permissions.
- Click ADD PERMISSIONS.
- In the filter box, search for and add each of the following permissions:
resourcemanager.projects.getresourcemanager.projects.listresourcemanager.projects.getIamPolicyresourcemanager.projects.setIamPolicyresourcemanager.organizations.getresourcemanager.organizations.getIamPolicyresourcemanager.organizations.setIamPolicyresourcemanager.folders.listresourcemanager.folders.getresourcemanager.folders.getIamPolicyresourcemanager.folders.setIamPolicyiam.serviceAccounts.listiam.roles.listiam.roles.getiam.serviceAccountKeys.listlogging.logEntries.listlogging.privateLogEntries.listlogging.logs.list
- Verify that all permissions appear in the Assigned permissions section.
- Click CREATE at the bottom of the page.
- Note the role name or ID. You need it in a later step.
Step 2: Create the Service Account
Section titled “Step 2: Create the Service Account”- Navigate to service accounts.
- From the navigation menu (☰), go to IAM & Admin > Service accounts.
- Create a new service account.
- Click + CREATE SERVICE ACCOUNT at the top of the page.
- Configure the service account details.
- Service account name: enter a descriptive name, for example
saas-integration-account. - Service account ID: this auto-generates from the name, or you can customize it.
- Service account description: add a description, for example
Service account for SaaS platform integration. - Click CREATE AND CONTINUE.
- Service account name: enter a descriptive name, for example
- Skip the optional steps for now.
- Grant this service account access to project: skip this step. You assign the role in the next section.
- Click CONTINUE.
- Grant users access to this service account: this step is optional. Skip it.
- Click DONE.
Step 3: Assign the Role to the Service Account and Generate the Key
Section titled “Step 3: Assign the Role to the Service Account and Generate the Key”Assign the custom role
- Navigate to IAM.
- From the navigation menu (☰), go to IAM & Admin > IAM.
- Add a role binding.
- Click GRANT ACCESS at the top of the page.
- Configure access.
- In the Add principals field, enter the service account email. It has the format
service-account-name@project-id.iam.gserviceaccount.com. Find this email under IAM & Admin > Service accounts if you need to copy it. - In the Assign roles section, click the Select a role dropdown.
- In the filter box, type the name of the custom role you created earlier.
- Select your custom role from the filtered results.
- Click SAVE.
- In the Add principals field, enter the service account email. It has the format
Generate and download the JSON key file
-
Navigate back to service accounts.
- From the navigation menu (☰), go to IAM & Admin > Service accounts.
-
Open the service account.
- Find your new service account in the list.
- Click the service account email to open its details page.
-
Create a new key.
- Click the KEYS tab at the top of the service account details page.
- Click the ADD KEY dropdown.
- Select Create new key.
-
Generate the JSON key.
- Select JSON as the key type. This is the default.
- Click CREATE.
-
Save the key file. It downloads automatically.
Connect in Trustle
Section titled “Connect in Trustle”-
Navigate to the Connections page. Find Google Cloud under Cloud Providers. Click + Connect.
-
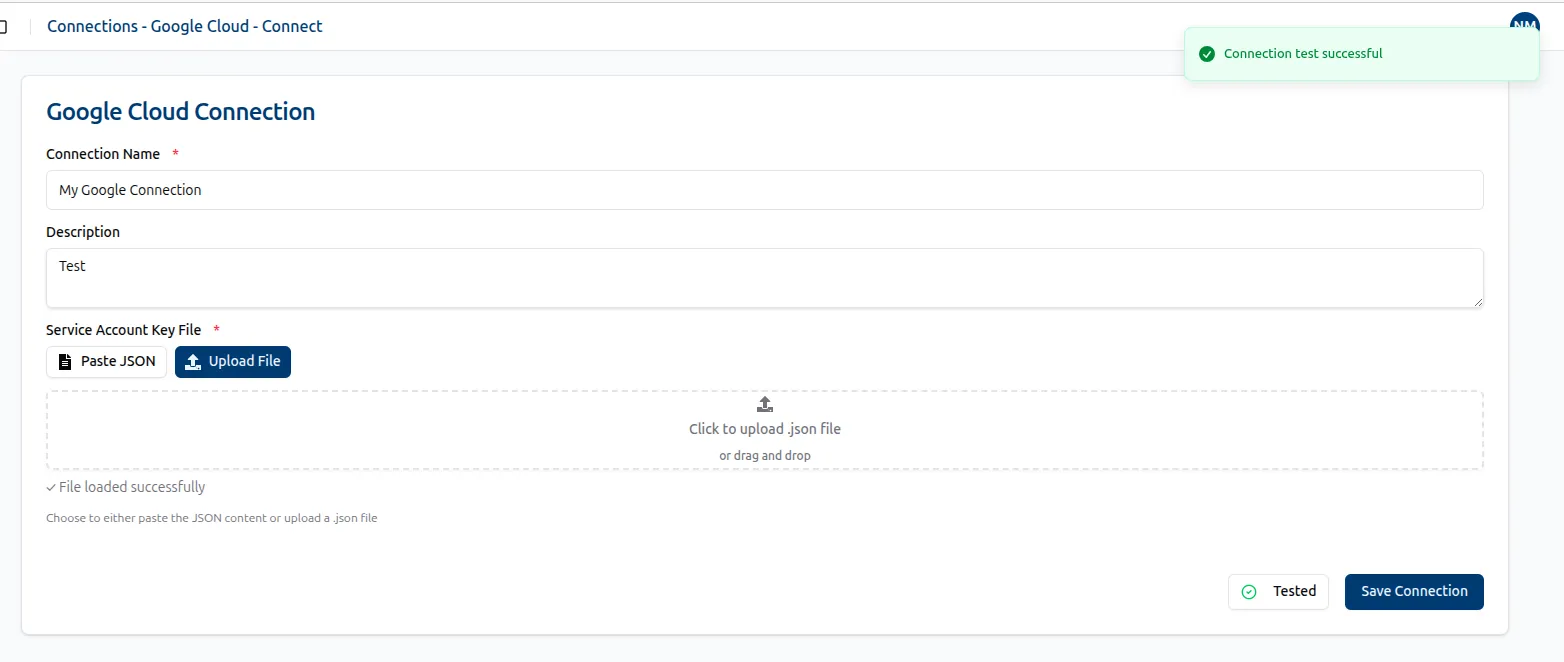
On the Google Cloud Connect page, enter a Name and Description for the new connection. For Service Account Key File, paste the JSON content or upload the JSON file.
Example JSON:
{"type": "service_account","project_id": "trustle-example","private_key_id": "907fbc88218d334a84772f79aaee72630fd8b0bc","private_key": "-----BEGIN PRIVATE KEY-----\nMIIiZMn5X3+S8iYKeMaWz4ZPJYXH1\nS2FF0M6dQyKdlwwYw0bUrw==\n-----END PRIVATE KEY-----\n","client_email": "sa-trustle-connector@<project-id>.iam.gserviceaccount.com","client_id": "112160954452881678260","auth_uri": "https://accounts.google.com/o/oauth2/auth","token_uri": "https://oauth2.googleapis.com/token","auth_provider_x509_cert_url": "https://www.googleapis.com/oauth2/v1/certs","client_x509_cert_url": "https://www.googleapis.com/robot/v1/metadata/x509/sa-trustle-connector-customer%40trustle-example.iam.gserviceaccount.com","universe_domain": "googleapis.com"}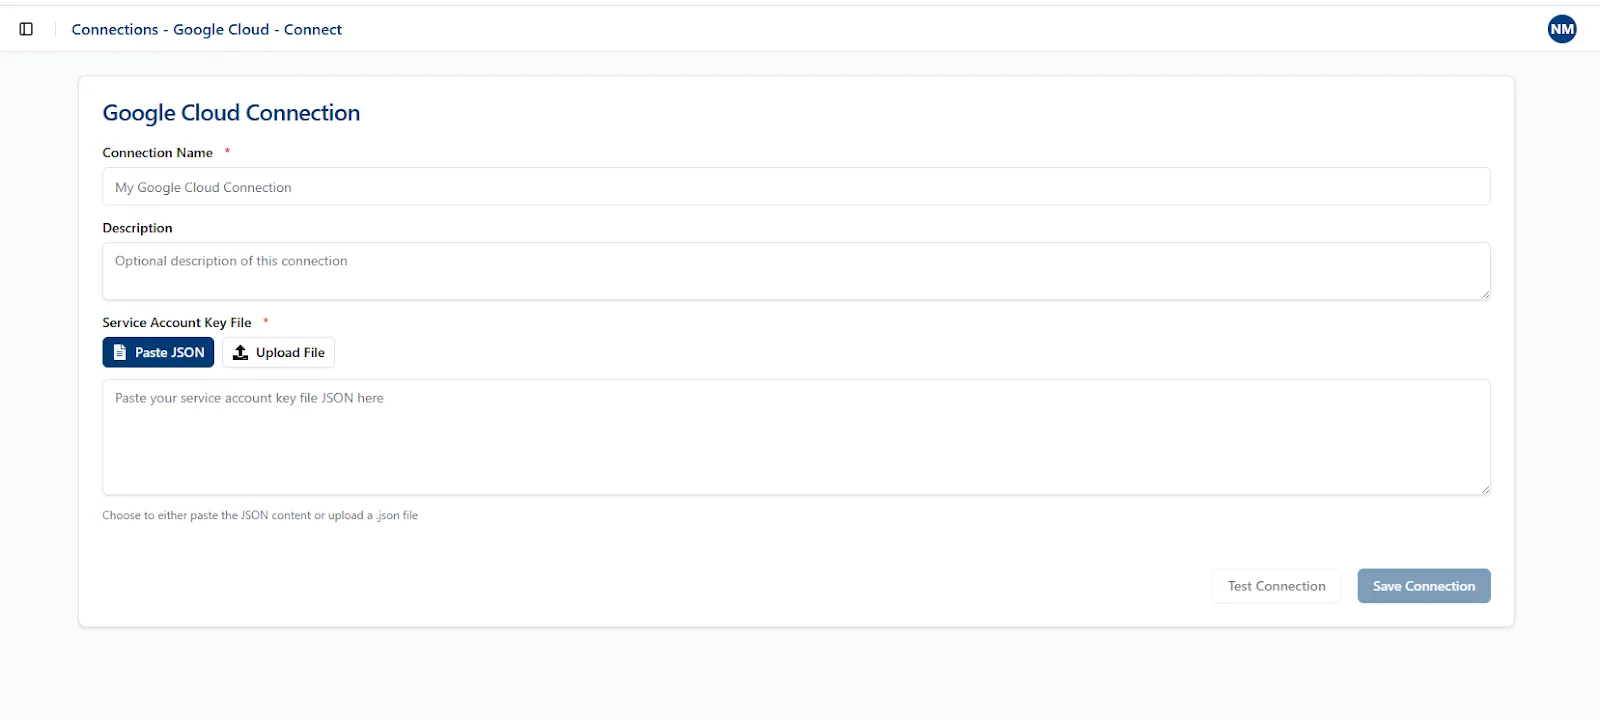
-
Click Test Connection. If the connection is valid, the Save Connection button becomes available. Click Save to finish.