

Databricks
Connect Databricks to Trustle to get insight into over-privileged and unused accounts, and to adopt just-in-time access management.
Prerequisites
Section titled “Prerequisites”- Account admin role in Databricks, to access the User Management panel.
Configure Databricks
Section titled “Configure Databricks”Step 1: Log in to the Databricks console
Section titled “Step 1: Log in to the Databricks console”Log in with the account admin role. You need this role to access the User Management panel.
Step 2: Create the service principal for Trustle
Section titled “Step 2: Create the service principal for Trustle”-
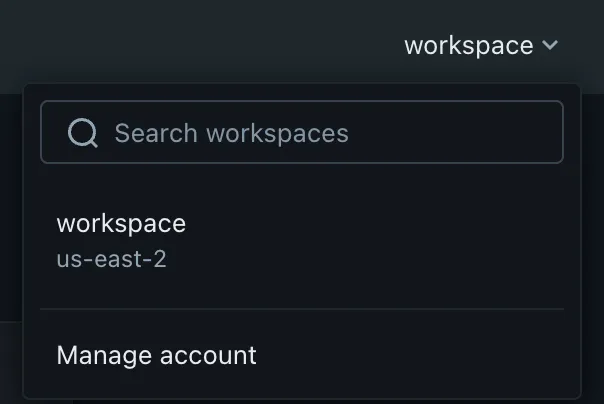
Go to the account management console. Open the Workspace dropdown, then click Manage account.
-
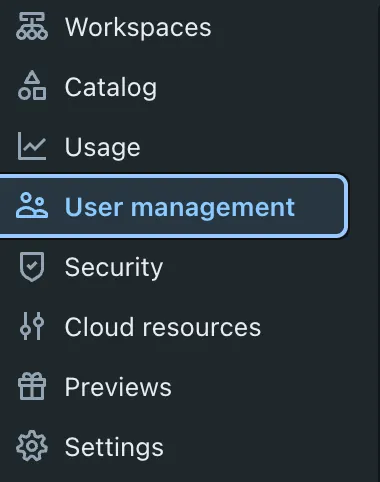
Go to User Management in the sidebar.
-
Go to the Service Principals tab.

-
Create the Trustle service principal account.
-
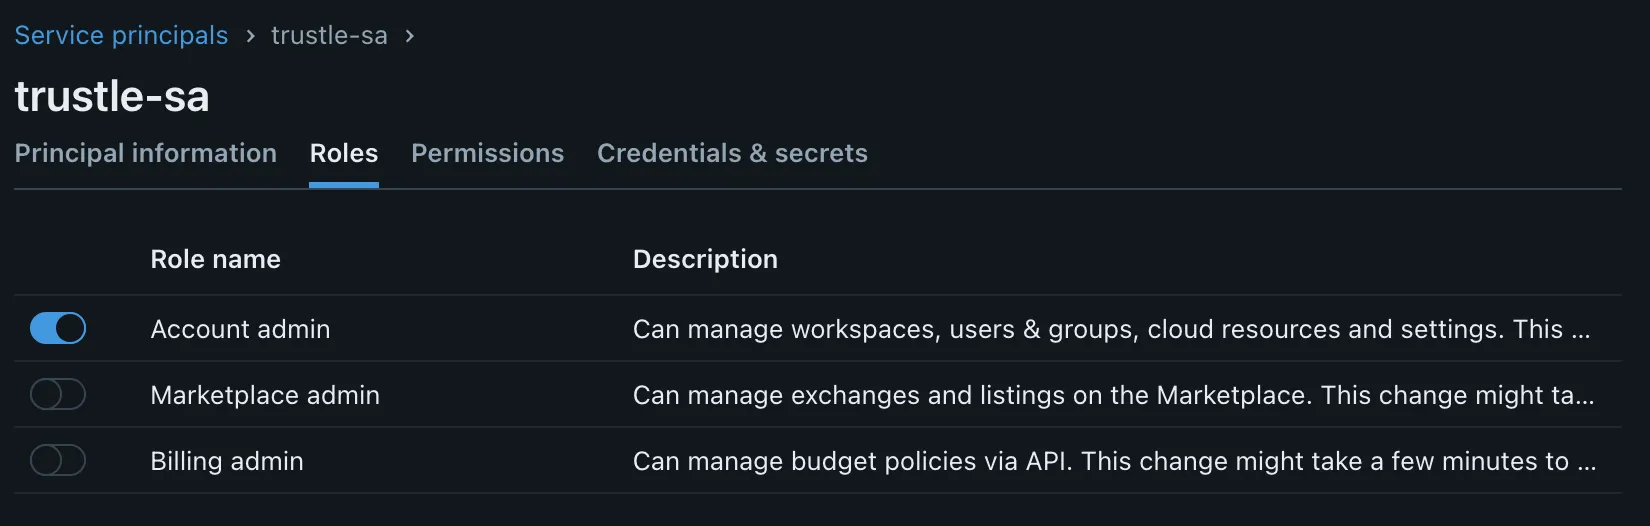
Give the Account Admin role to the service principal (Service Principal → Roles). Trustle needs this role to read account-level identity data: users, groups, and service principals.
-
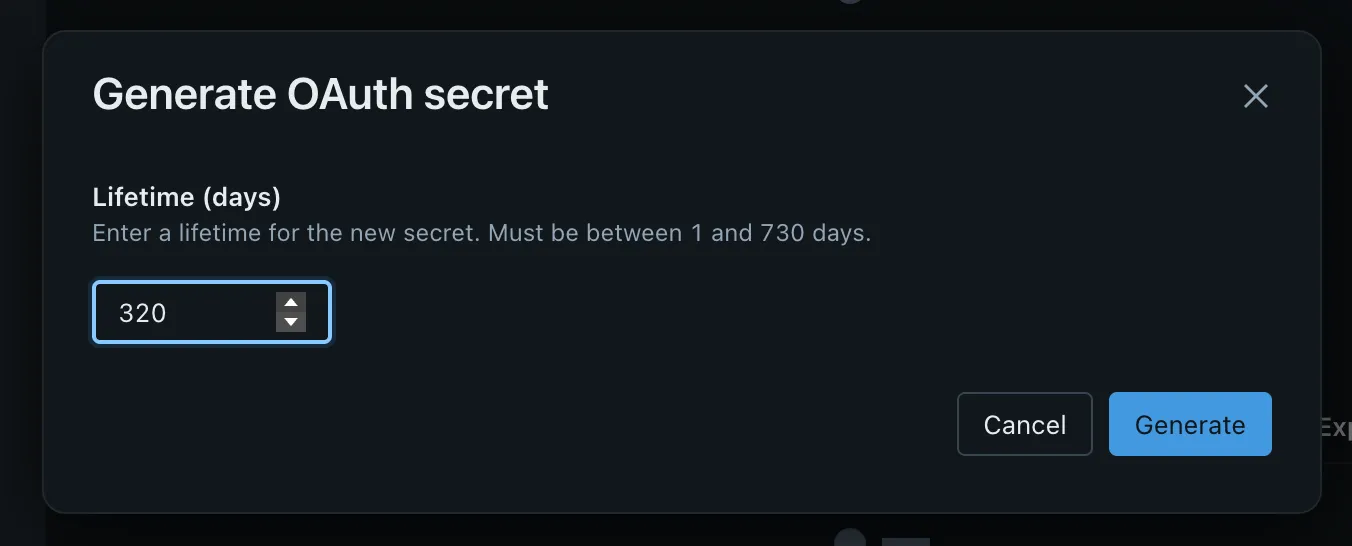
Generate the OAuth secrets (Service Principal → Credentials & Secrets → OAuth Secrets).
- Set a lifetime for the secret. 320 days is common.
- Copy the Secret and the Client ID. You use both in the Trustle connection.
Step 3: Grant the service principal metastore admin
Section titled “Step 3: Grant the service principal metastore admin”The metastore admin is a single owner “slot.” Assign it to a group so multiple admins can coexist without overwriting each other.
-
Create an account-level group, for example
metastore-admins, if you don’t already have one.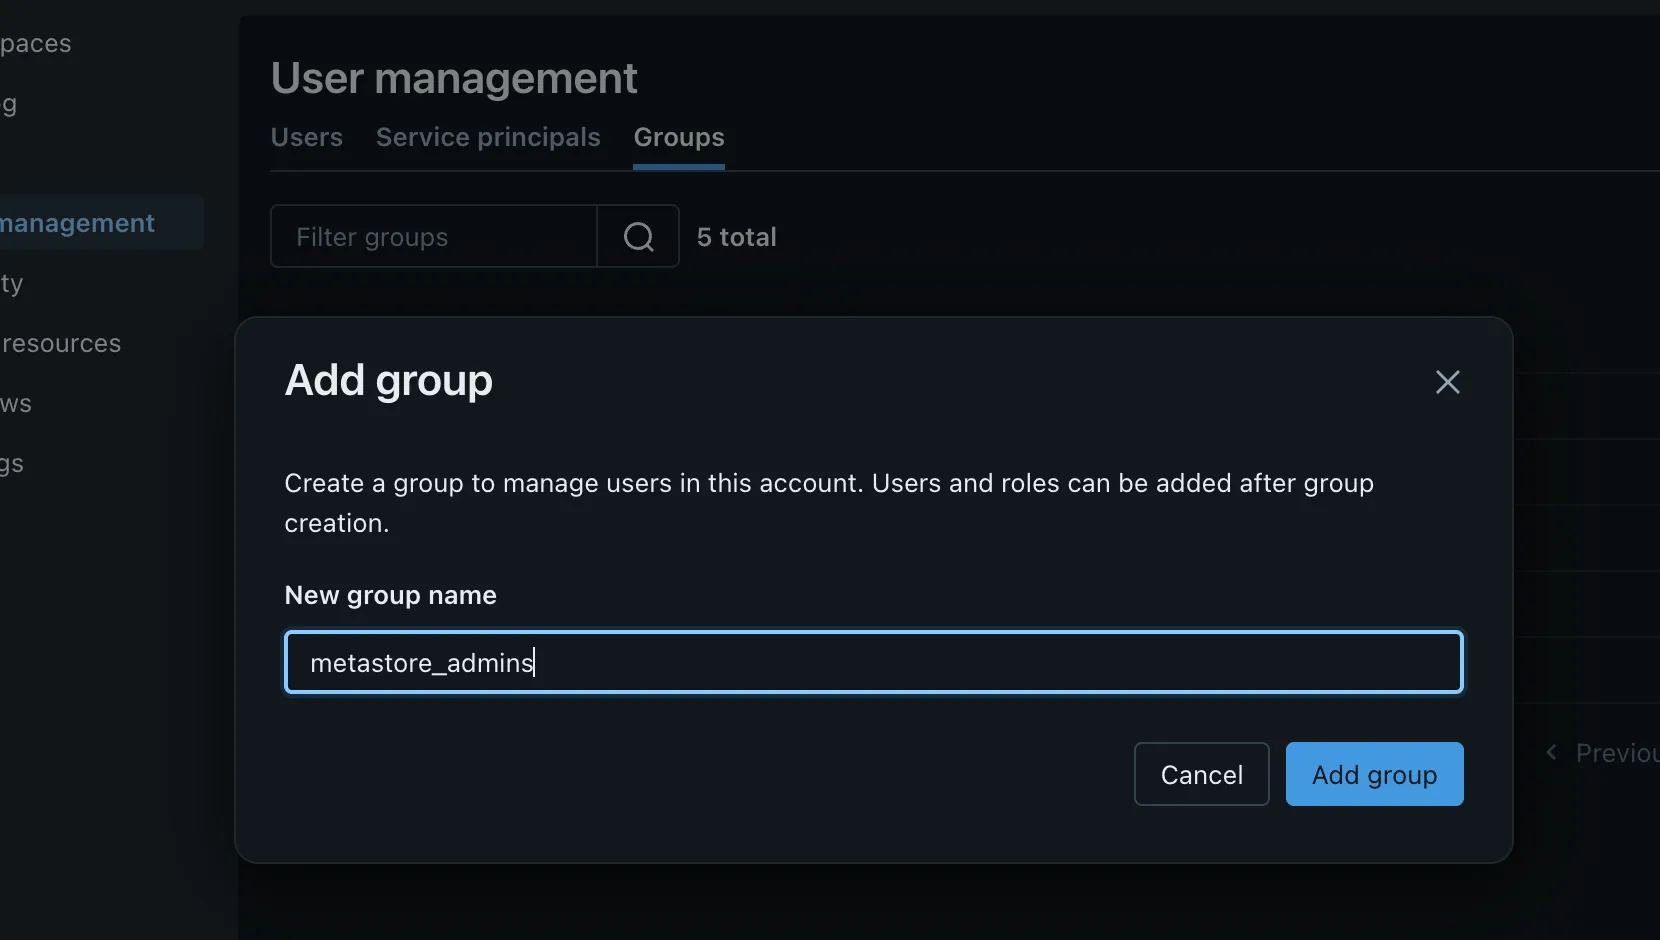
-
Add the Trustle service principal to the group.
-
Go to the target metastore (Account console → Catalog, then open the metastore you want to add the admin group to).
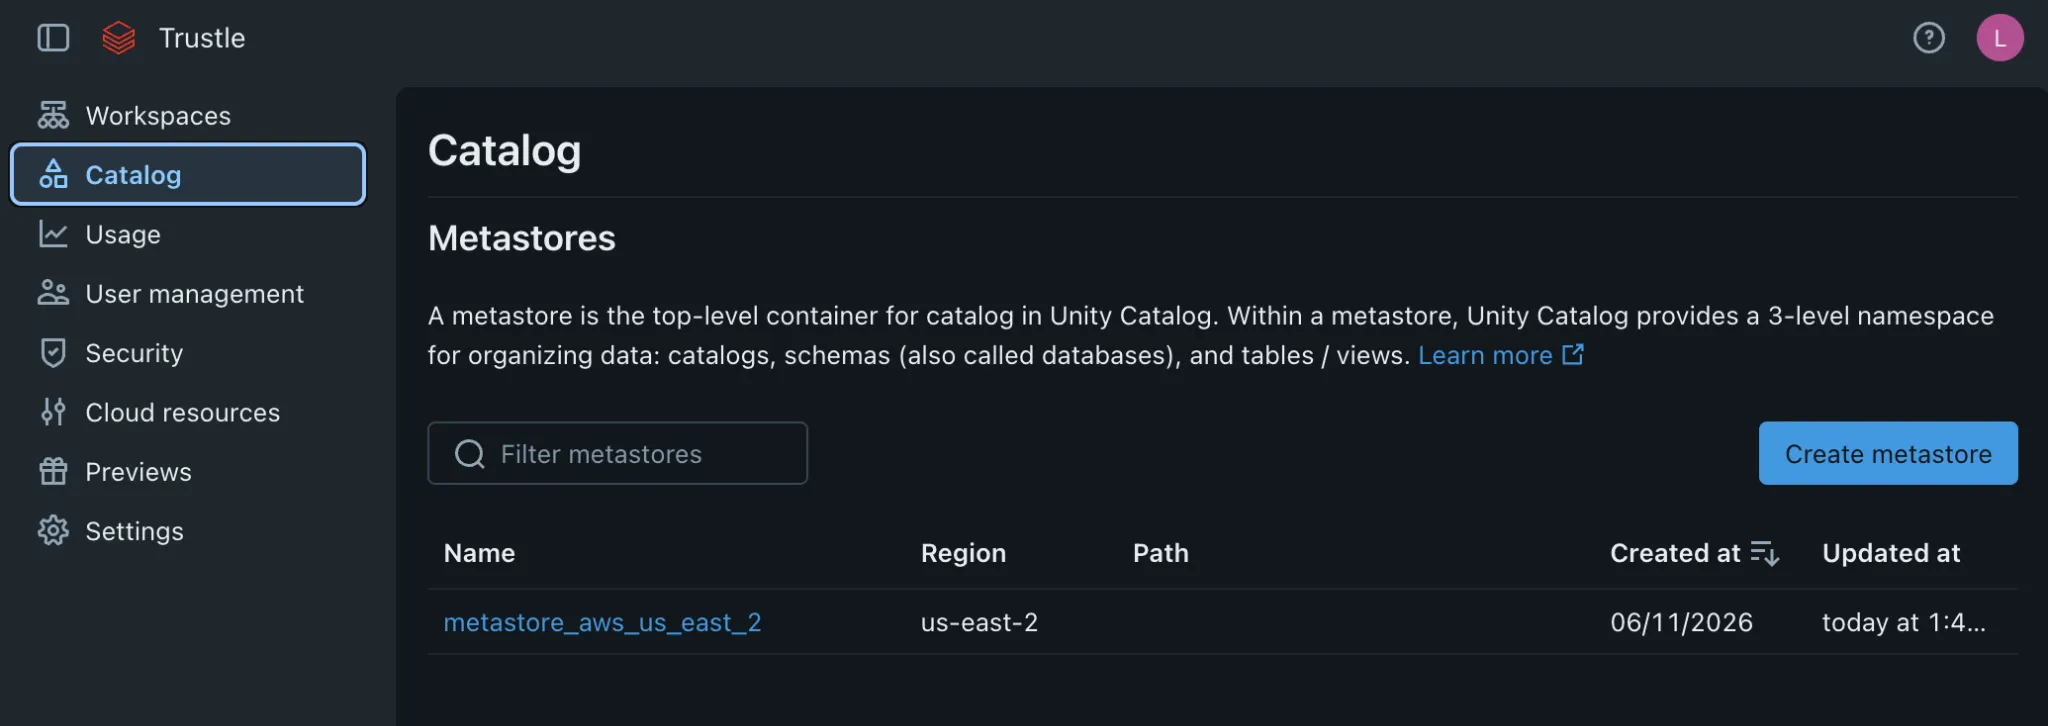
-
Assign the group as the metastore admin.
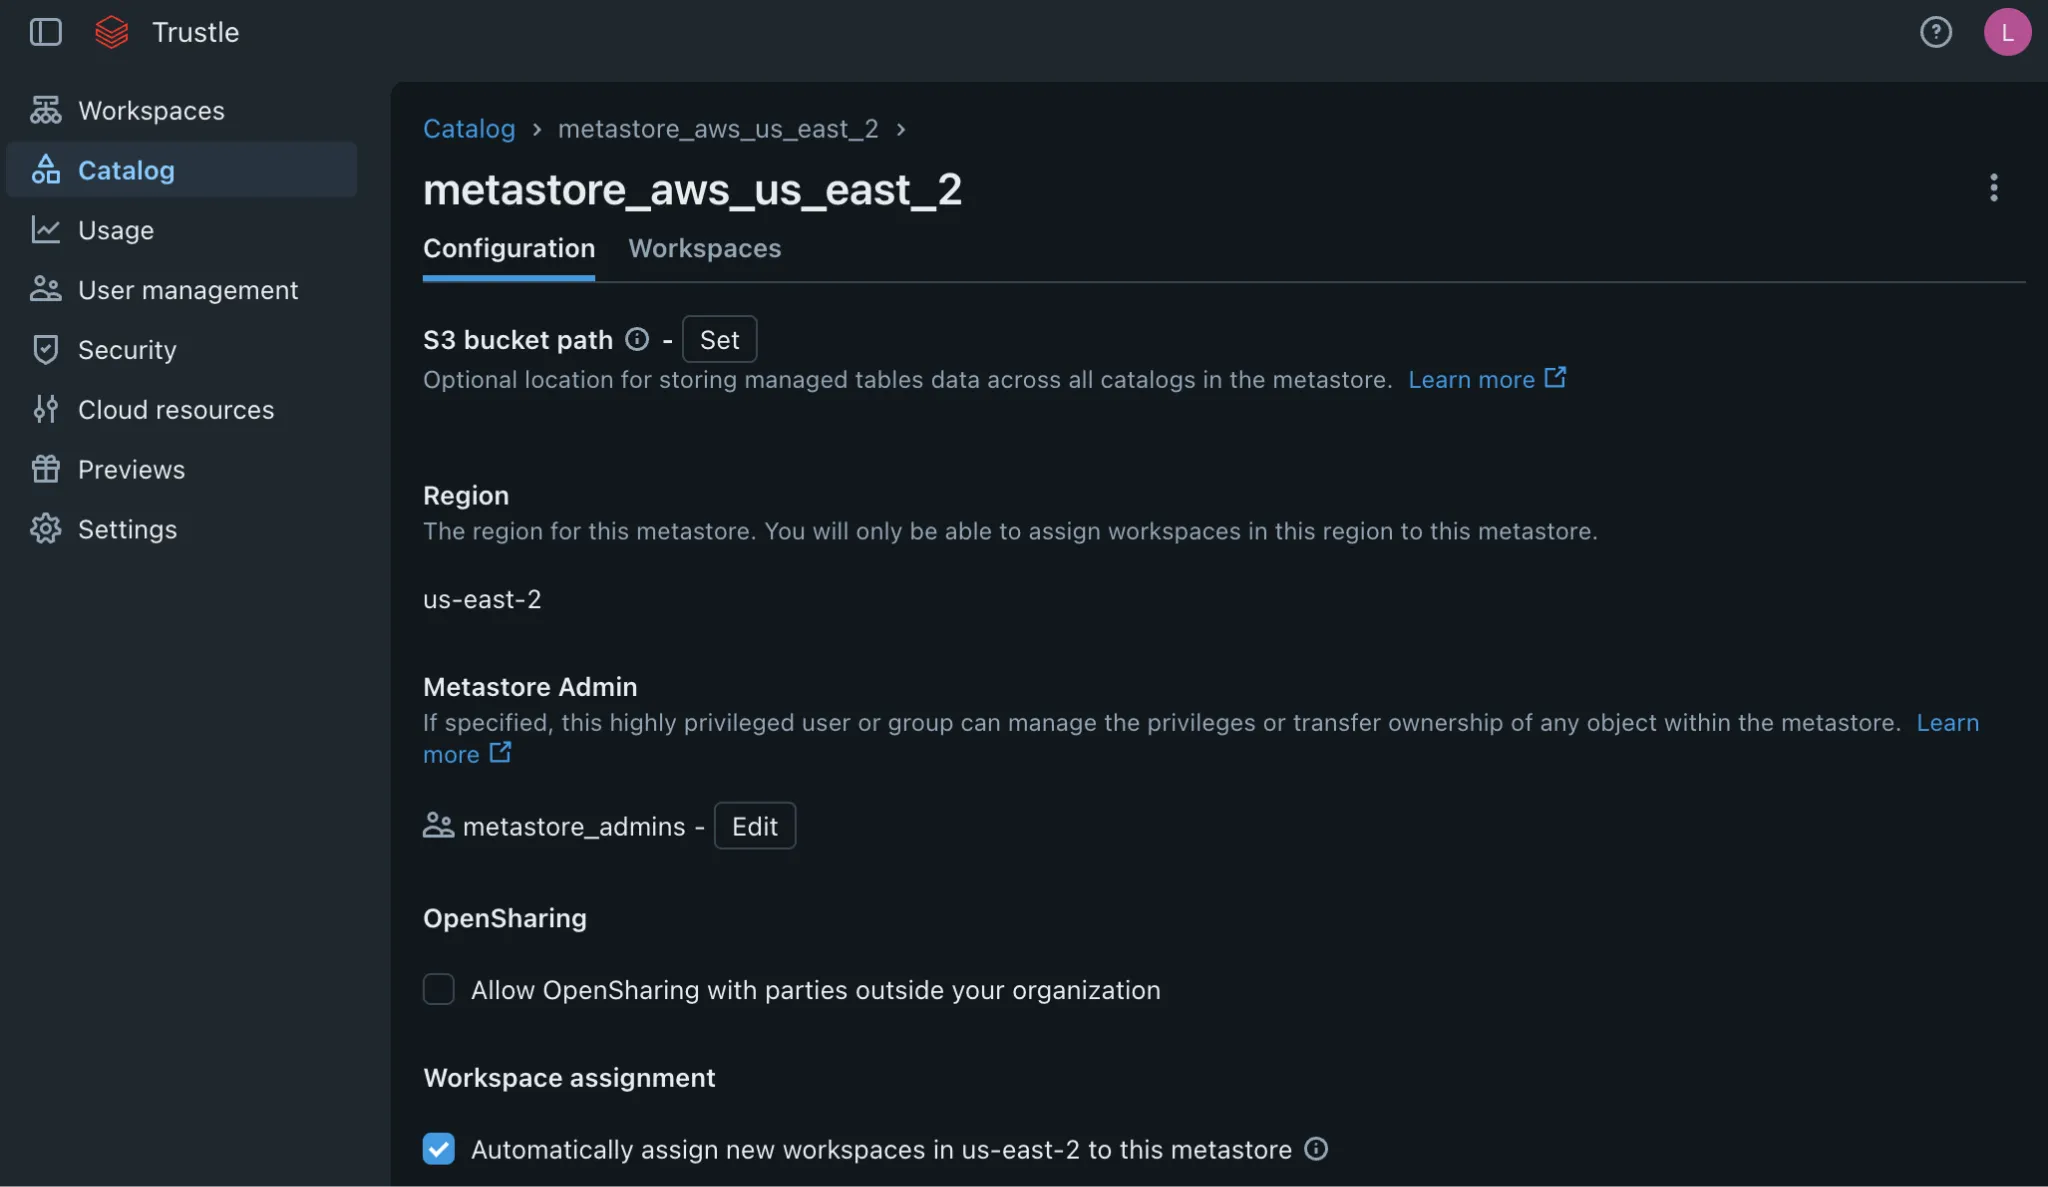
Step 4: Collect the workspace URL and SQL warehouse ID
Section titled “Step 4: Collect the workspace URL and SQL warehouse ID”Trustle runs its Unity Catalog discovery queries through a SQL warehouse in one of your workspaces.
- Workspace URL: Go to Account console → Workspaces, then open the workspace you want Trustle to use. Copy its URL, for example
https://dbc-xxxxxxxx-xxxx.cloud.databricks.com, or your Azure or GCP equivalent. - SQL Warehouse ID: In that workspace, go to SQL → SQL Warehouses, then open the warehouse. The ID is in Connection details. You can also find it in the URL, at
/sql/warehouses/<warehouse-id>. - Grant the service principal access to the warehouse. On the warehouse, go to Permissions and confirm the Trustle service principal has Can use.
Step 5: Collect the account ID
Section titled “Step 5: Collect the account ID”Open the user menu in the top-right corner of the account console and click Copy account ID. The account ID is a UUID. You can also find it in the console URL.
Step 6: Collect the account host
Section titled “Step 6: Collect the account host”Copy the account management URL from Step 2 above.
| Cloud | Account Host |
|---|---|
| AWS | https://accounts.cloud.databricks.com |
| GCP | https://accounts.gcp.databricks.com |
| Azure | https://accounts.azuredatabricks.net |
Connect in Trustle
Section titled “Connect in Trustle”- Go to the Connections page in Trustle from the left menu.
- Under Identity Providers, find the Databricks logo and click Connect.
- Fill in the connection form:
- Connection Name: a descriptive name, for example “My Databricks Connection”.
- Account Host: the host you collected above.
- Account ID: the account ID you collected above.
- Client ID: the client ID from the service principal setup.
- Client Secret: the client secret from the service principal setup.
- Workspace Host: the workspace URL you collected above.
- SQL Warehouse ID: the warehouse ID you collected above.
- Click Test Connection.
- After the connection test succeeds, click Save Connection.