

JumpCloud
Configure a JumpCloud API connection so Trustle can securely read your JumpCloud users and groups.
This connector reads your JumpCloud users and groups. To let users sign in to Trustle with their JumpCloud login instead, see JumpCloud SSO.
Prerequisites
Section titled “Prerequisites”- A JumpCloud account with the Administrator role.
- Access to the JumpCloud Admin Panel.
Configure JumpCloud
Section titled “Configure JumpCloud”Log in to the JumpCloud Admin Panel
Section titled “Log in to the JumpCloud Admin Panel”Go to console.jumpcloud.com/login/admin and sign in with your administrator account.
Create a Custom Role for the Trustle Service Account
Section titled “Create a Custom Role for the Trustle Service Account”-
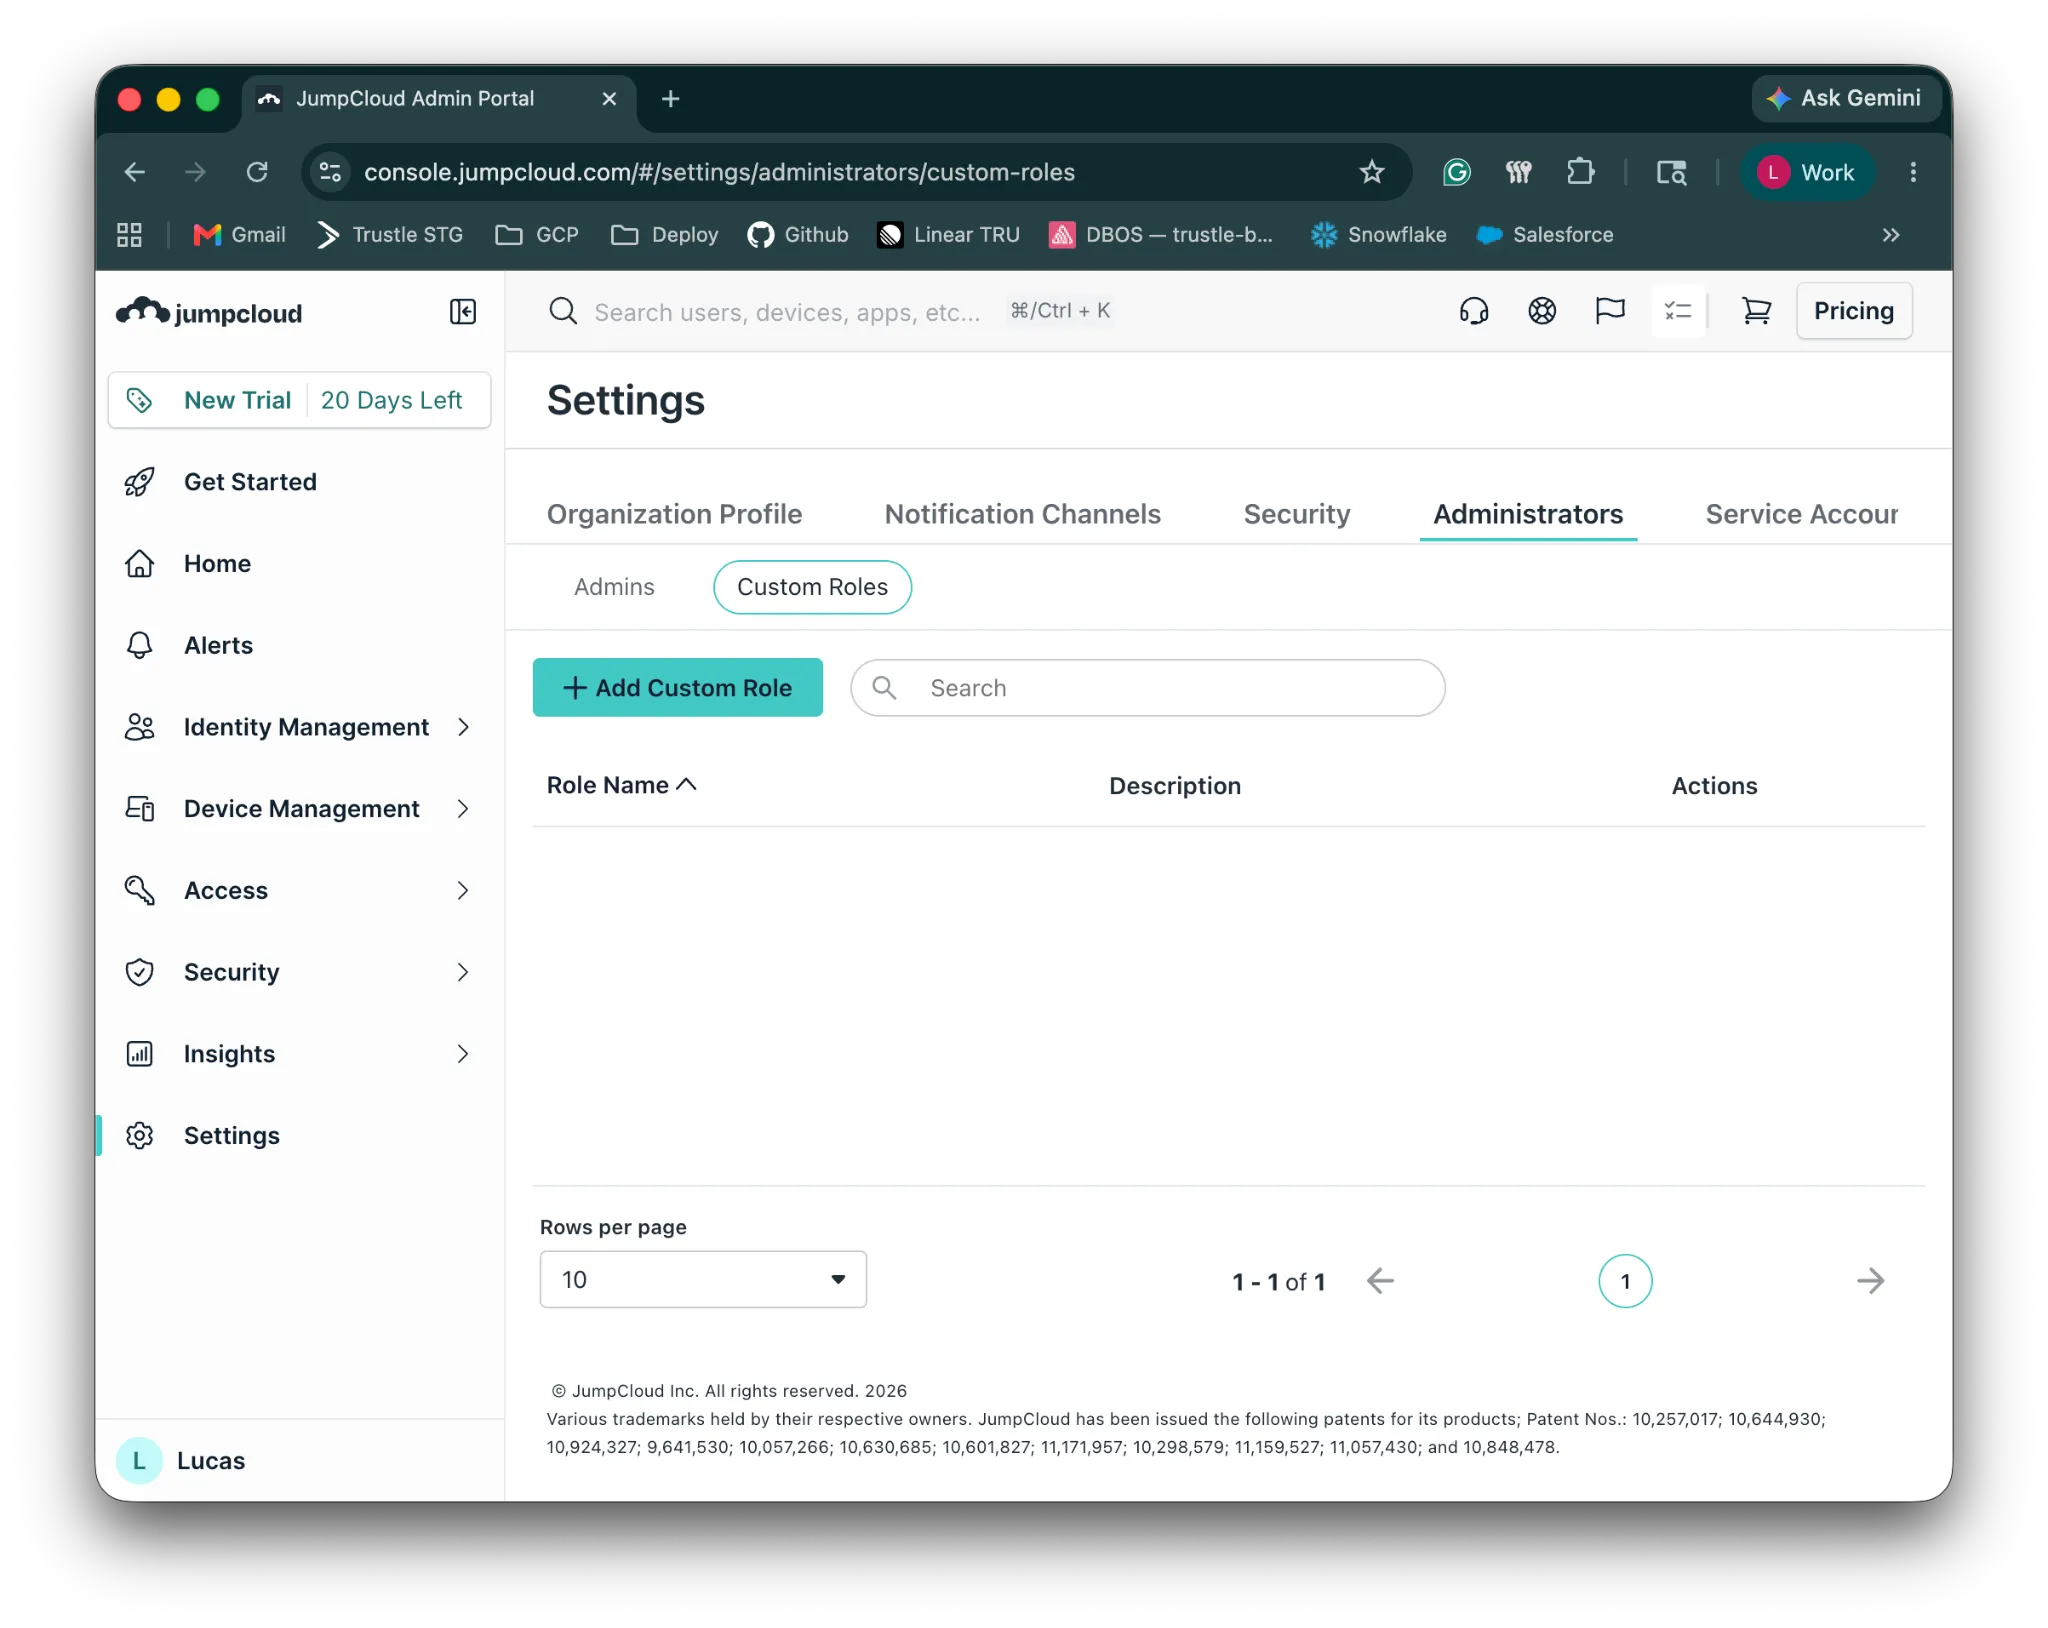
In the left sidebar, go to Settings.
-
Click the Administrators tab.
-
Click the Custom Roles sub-tab.
-
Click Add Custom Role.
-
Give the custom role a name, for example
trustle-sa. -
Choose Read Only as the template role.
-
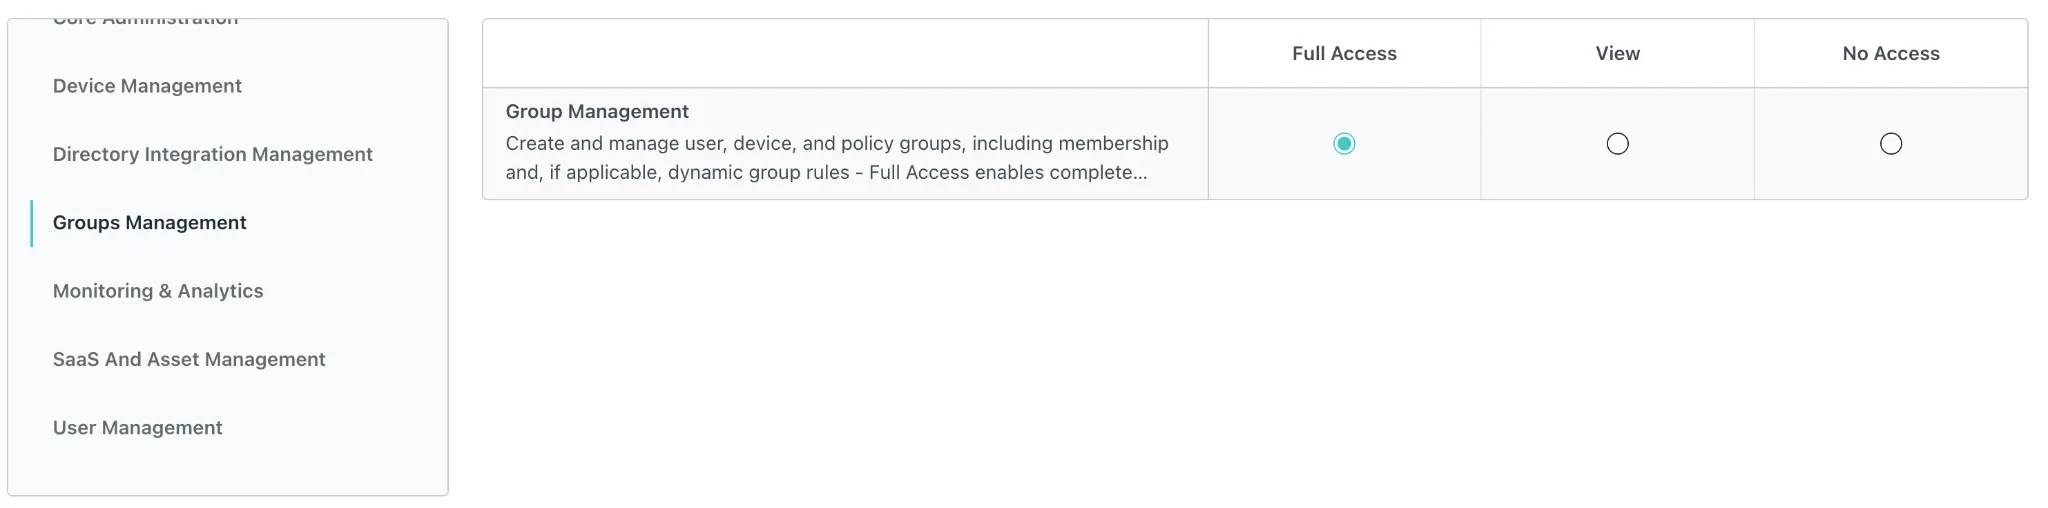
Give Full Access to the Groups Management permission category.
-
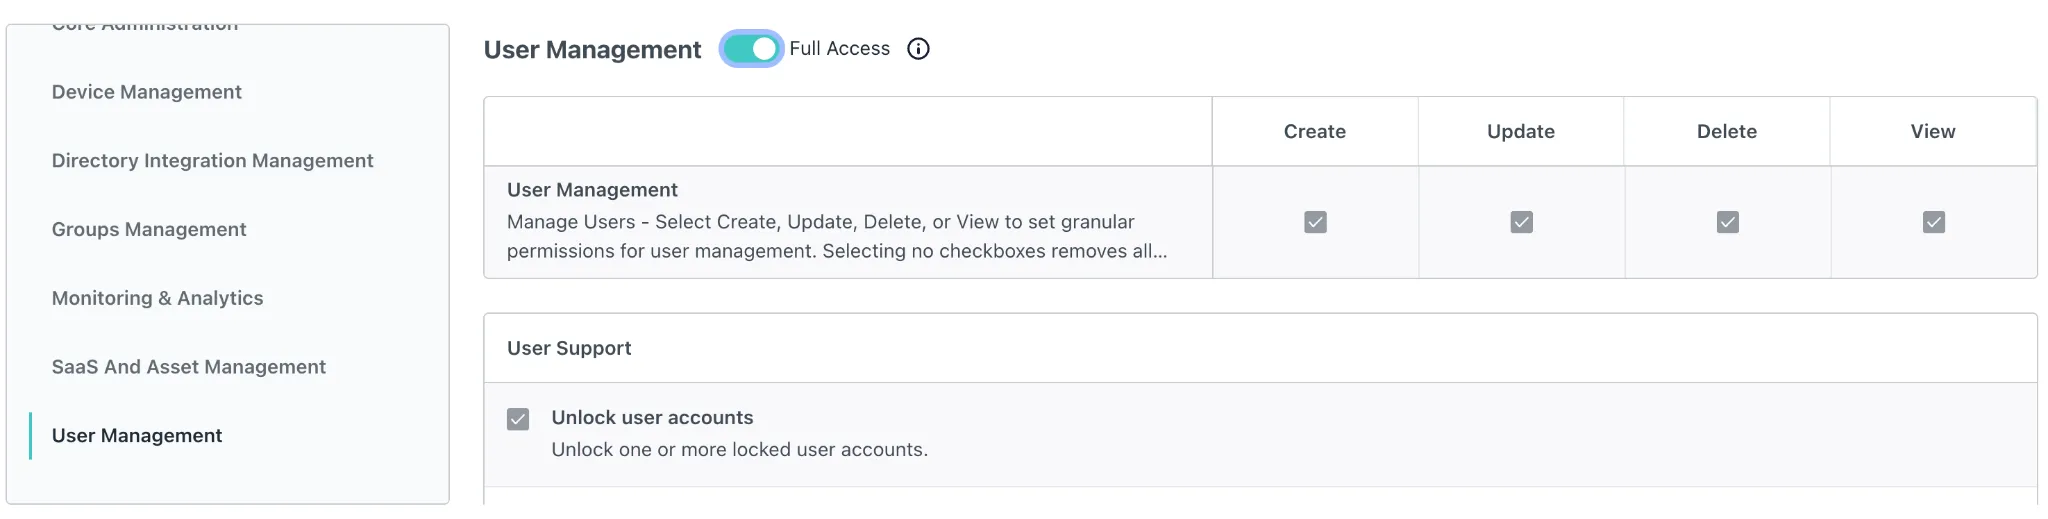
Give Full Access to the User Management permission category.
-
Save the role.
Create a Service Account
Section titled “Create a Service Account”-
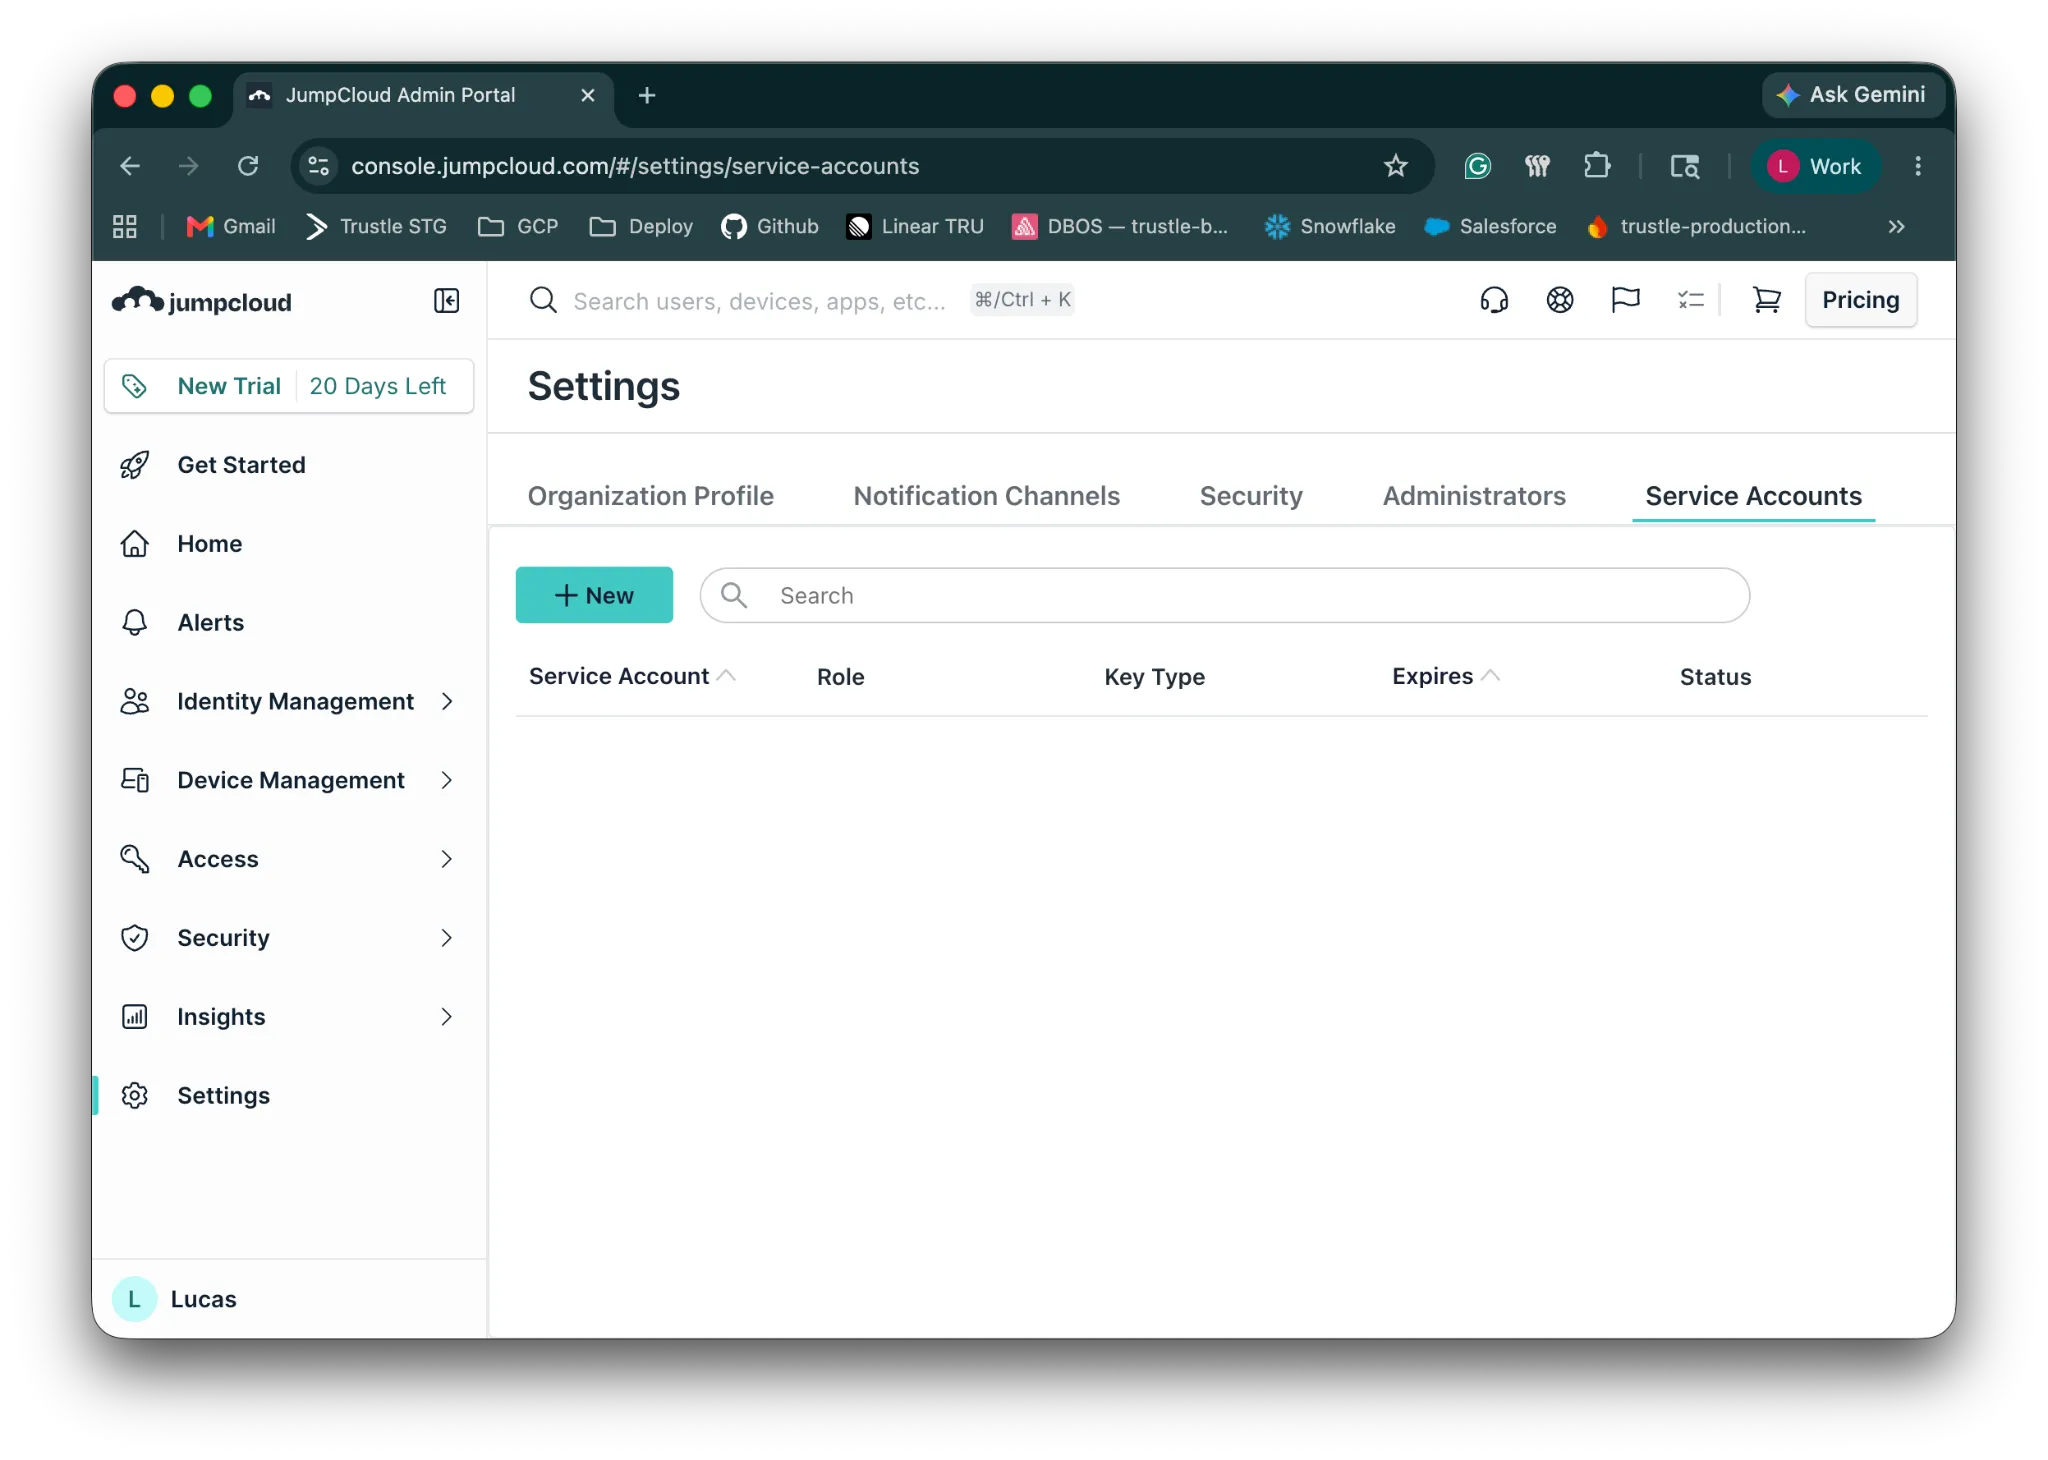
In the left sidebar, go to Settings.
-
Click the Service Account tab.
-
Click New.
-
Give the service account a name.
-
Select your custom role.
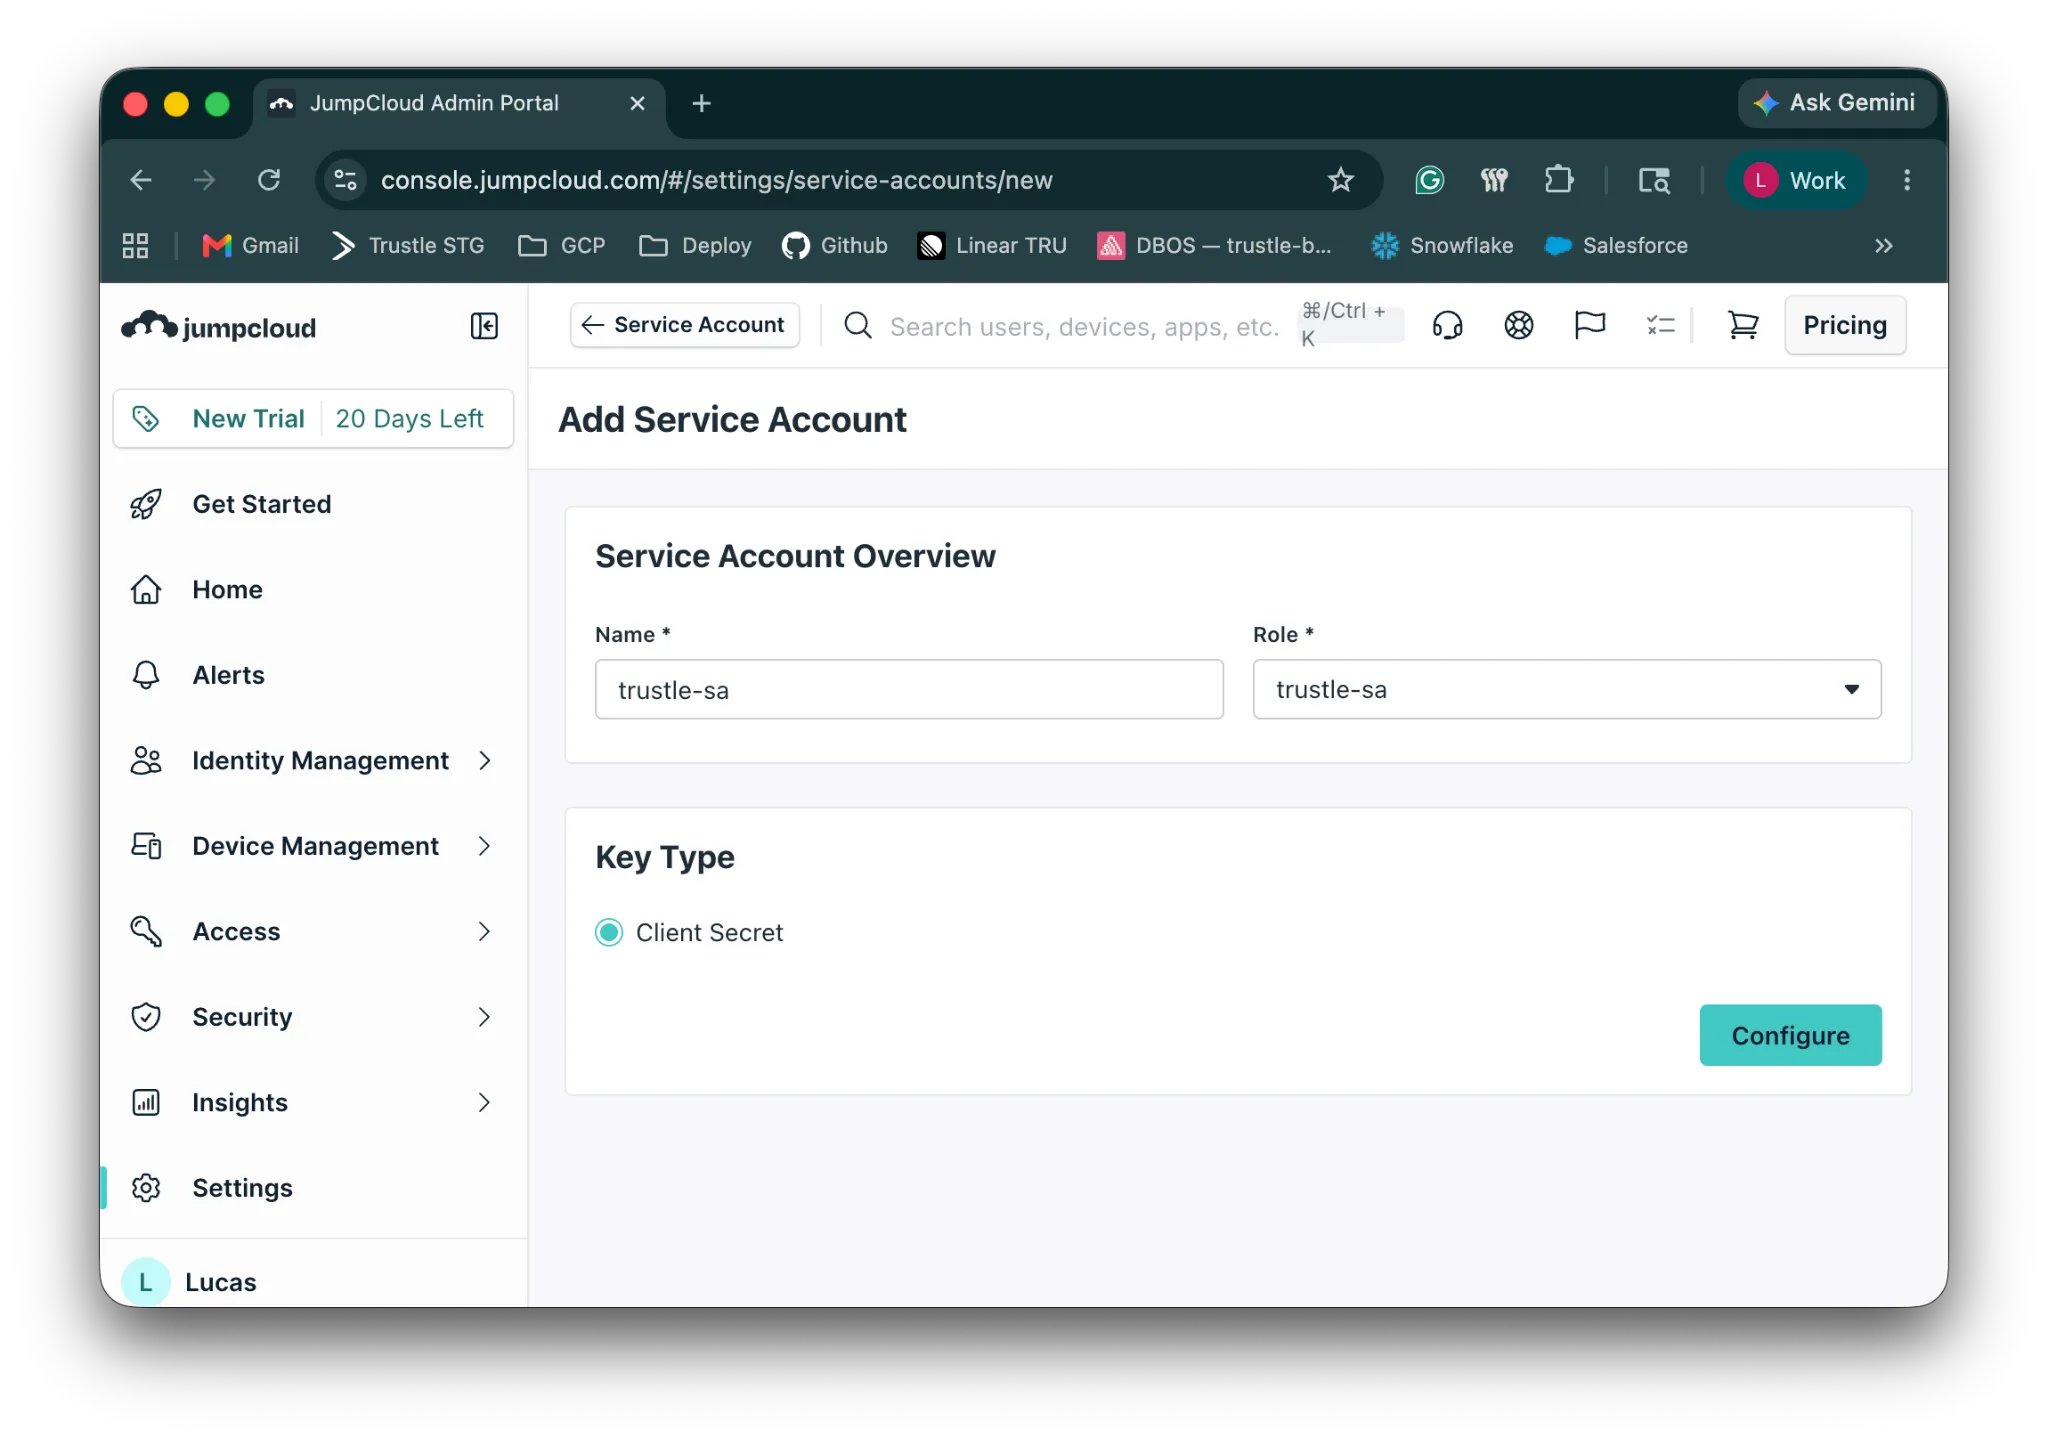
-
Click Configure.
-
Select the secret lifetime and activate it.
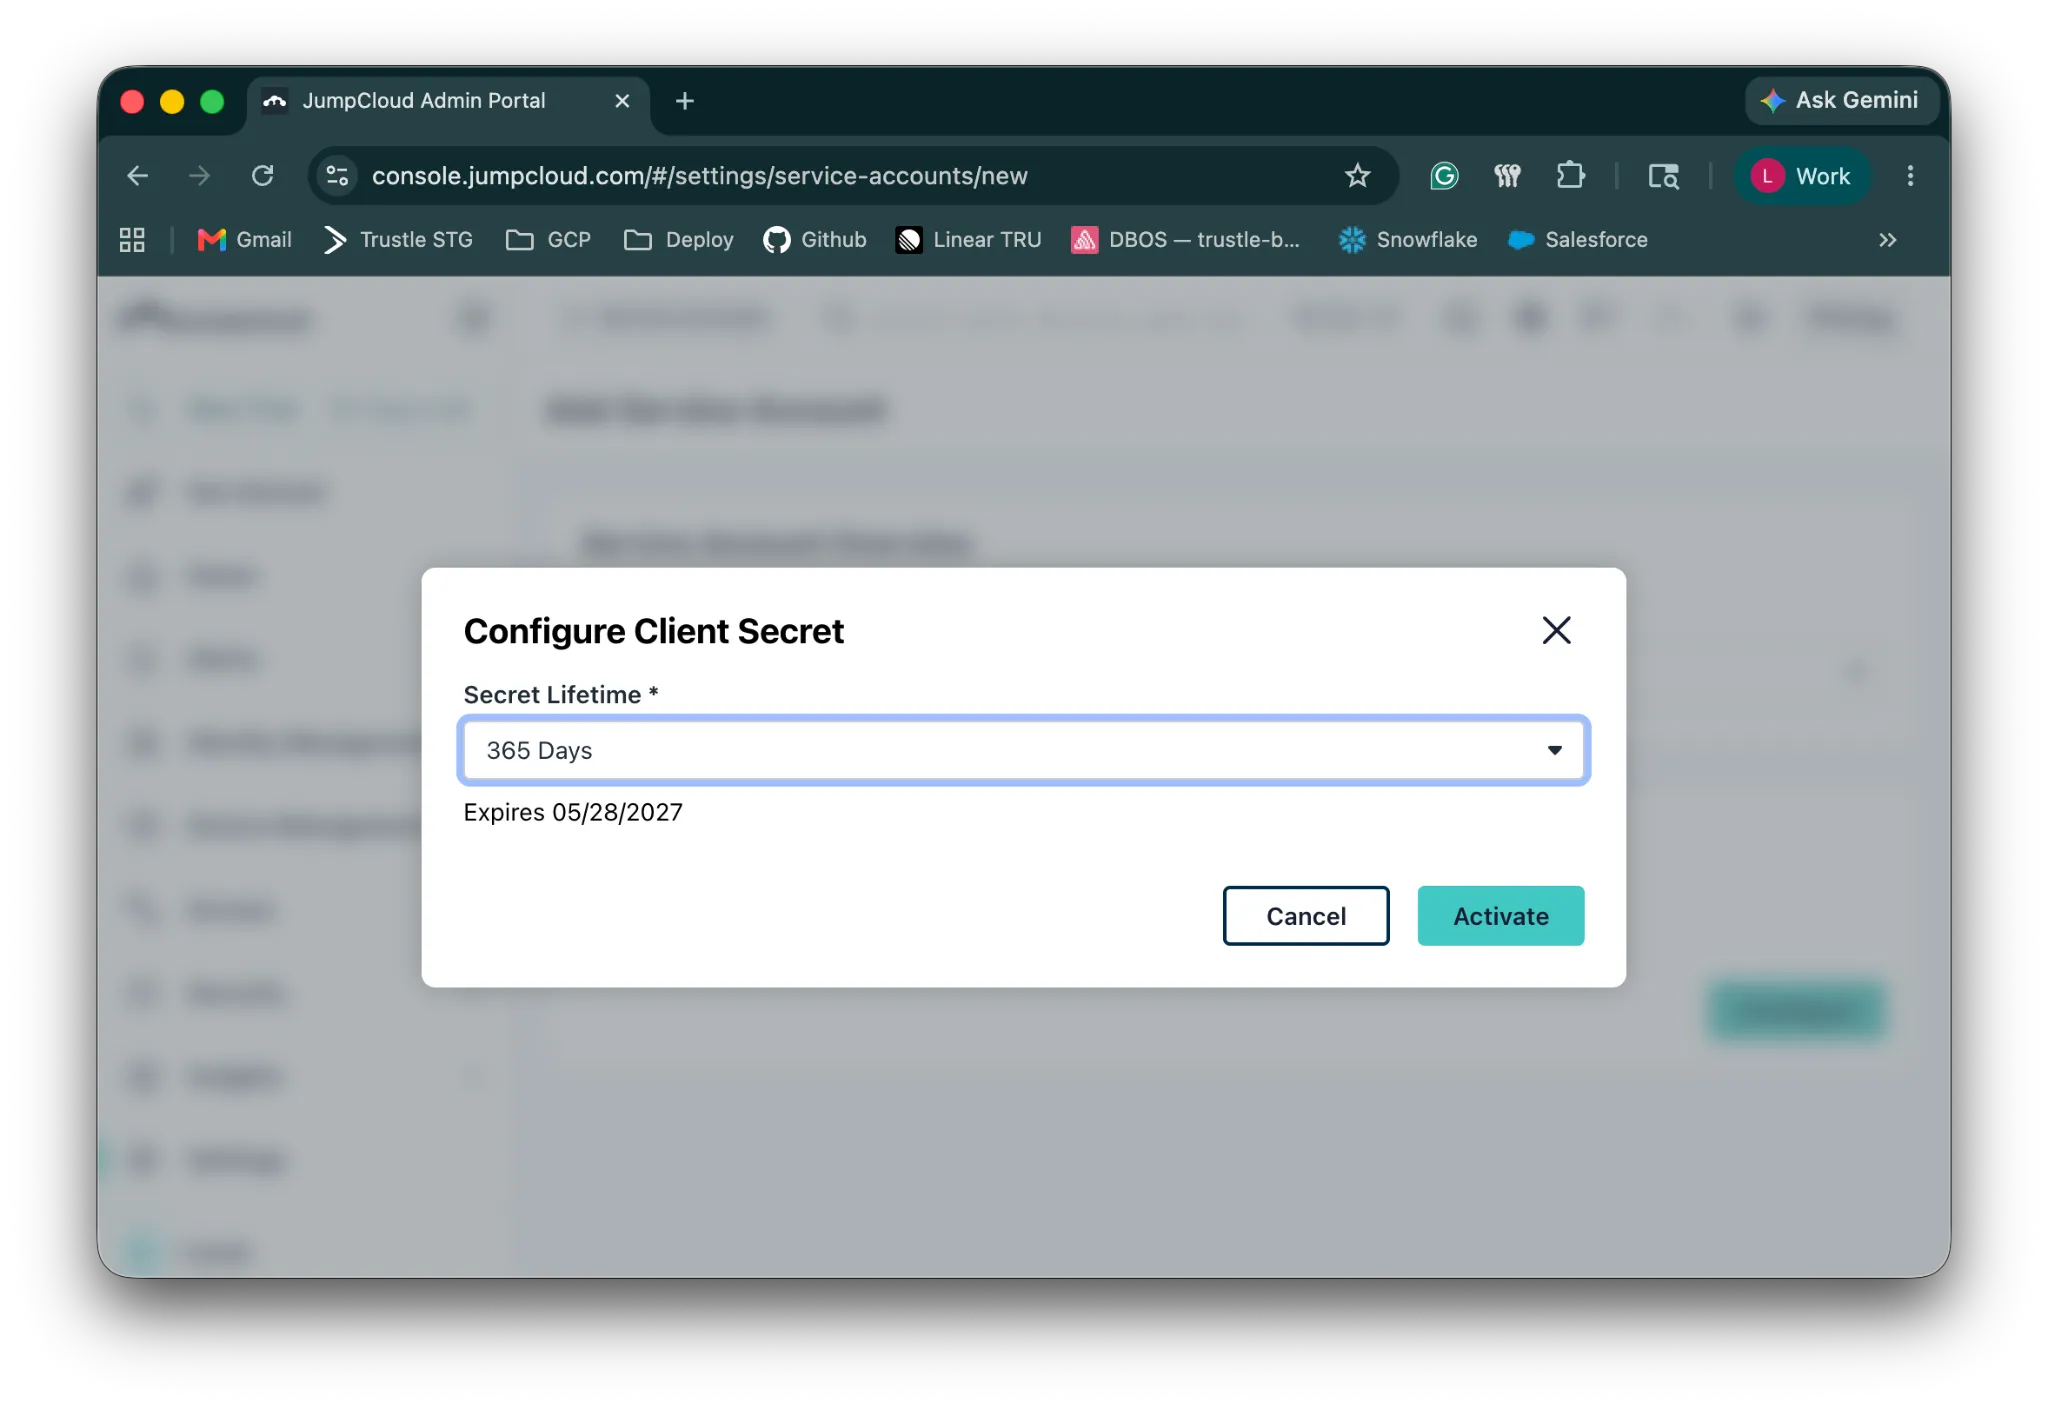
-
Copy the Client ID and Client Secret.
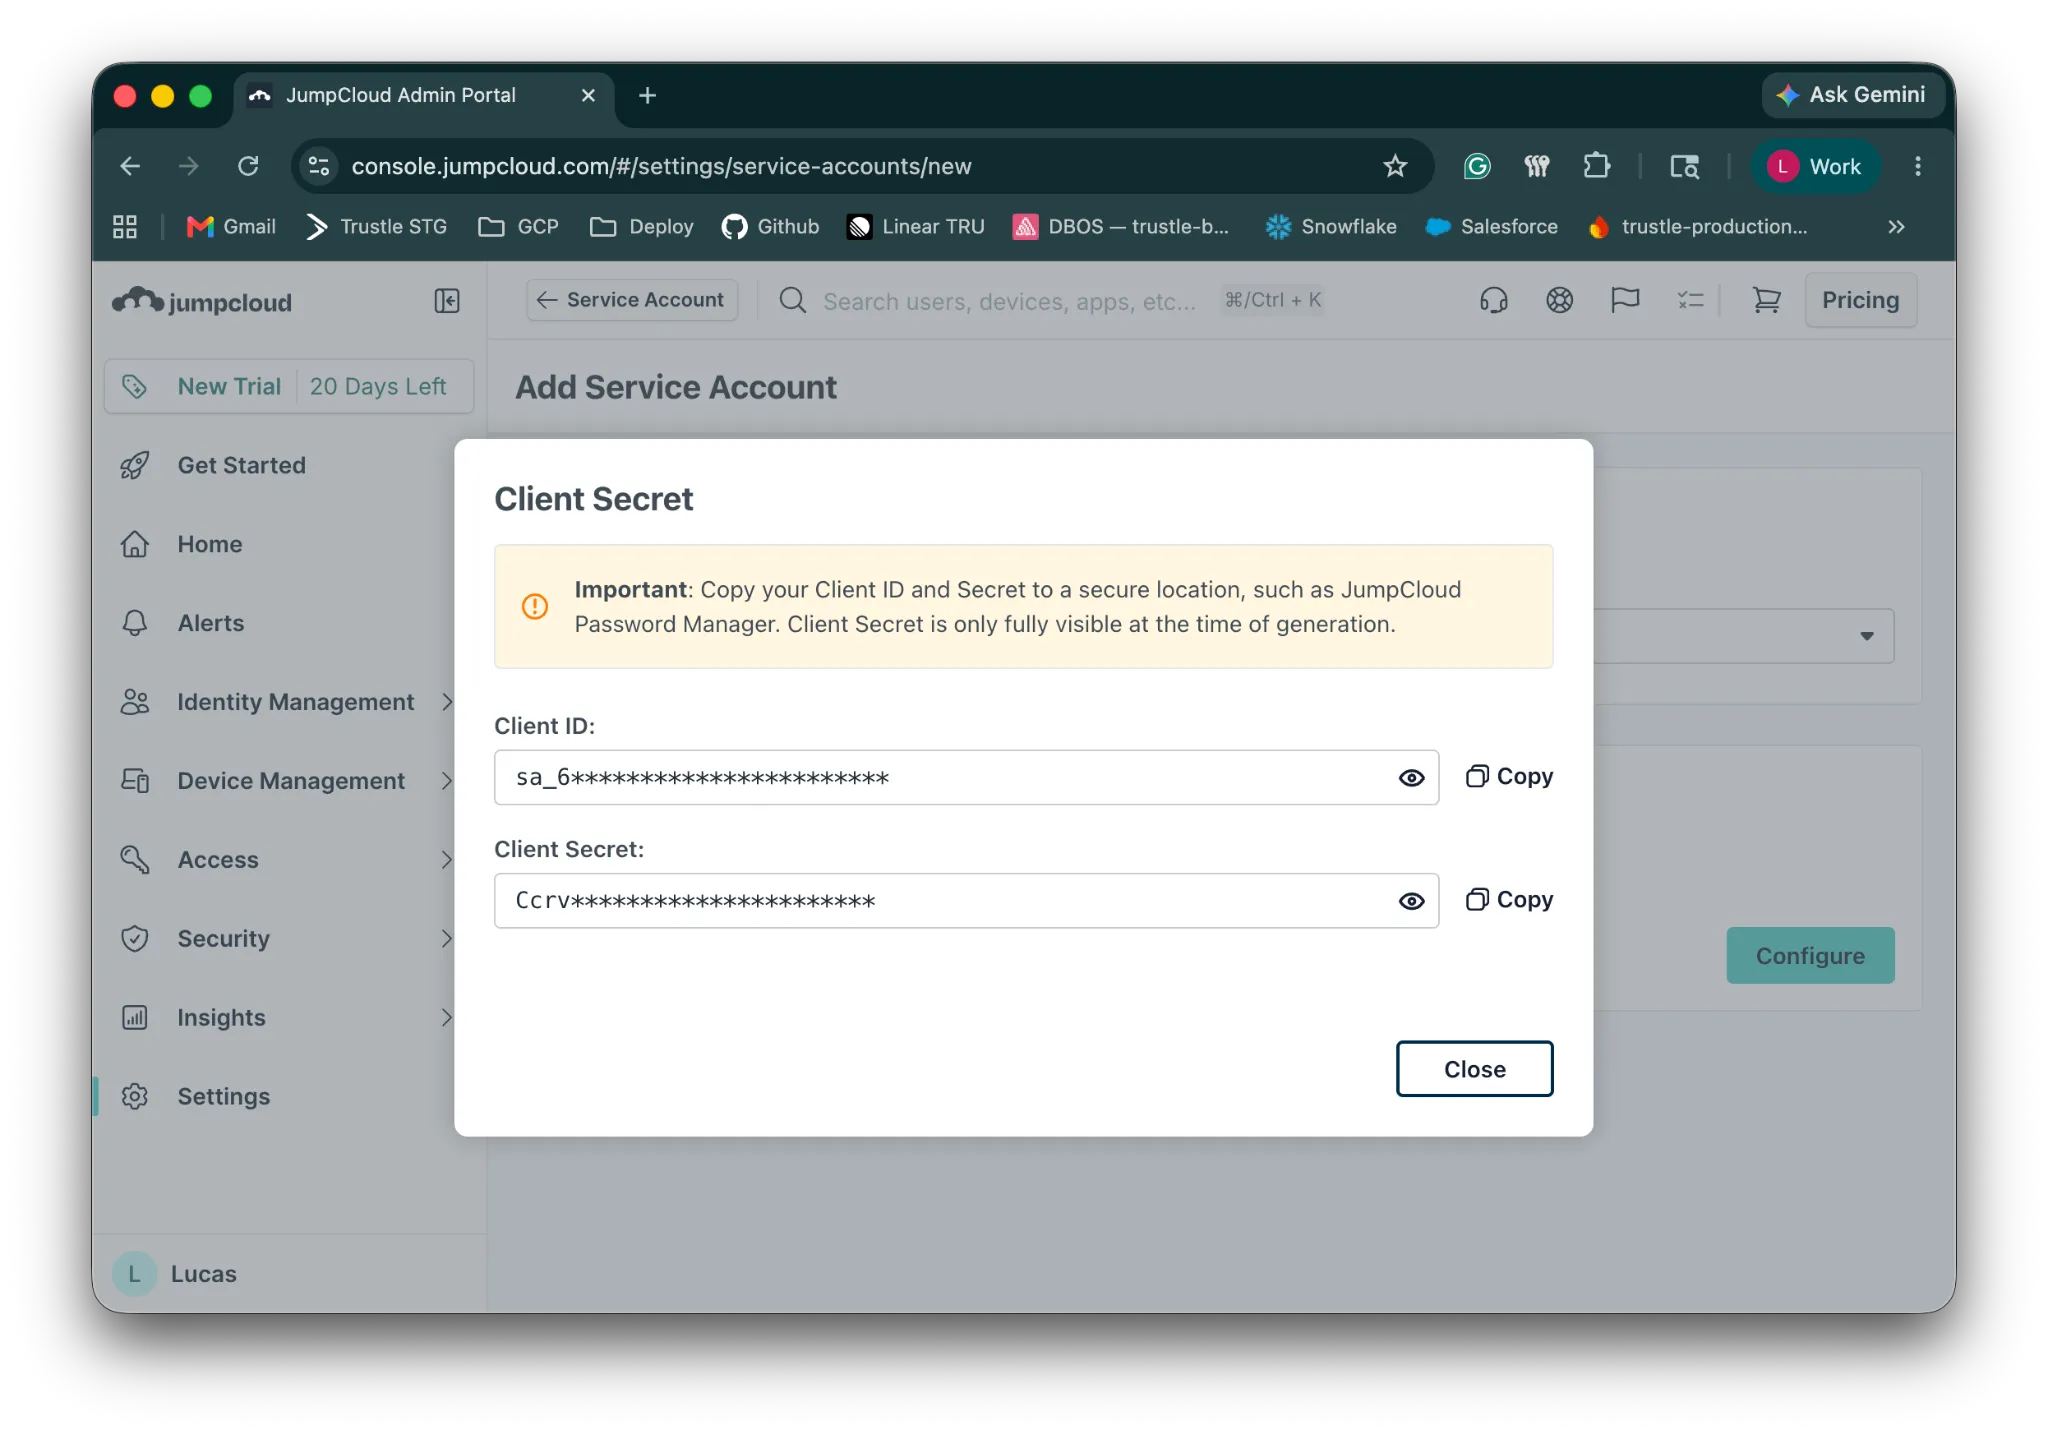
Collect the JumpCloud Organization ID
Section titled “Collect the JumpCloud Organization ID”-
In the left sidebar, go to Settings.
-
Click Organization Profile.
-
Copy the Organization ID under the General section.
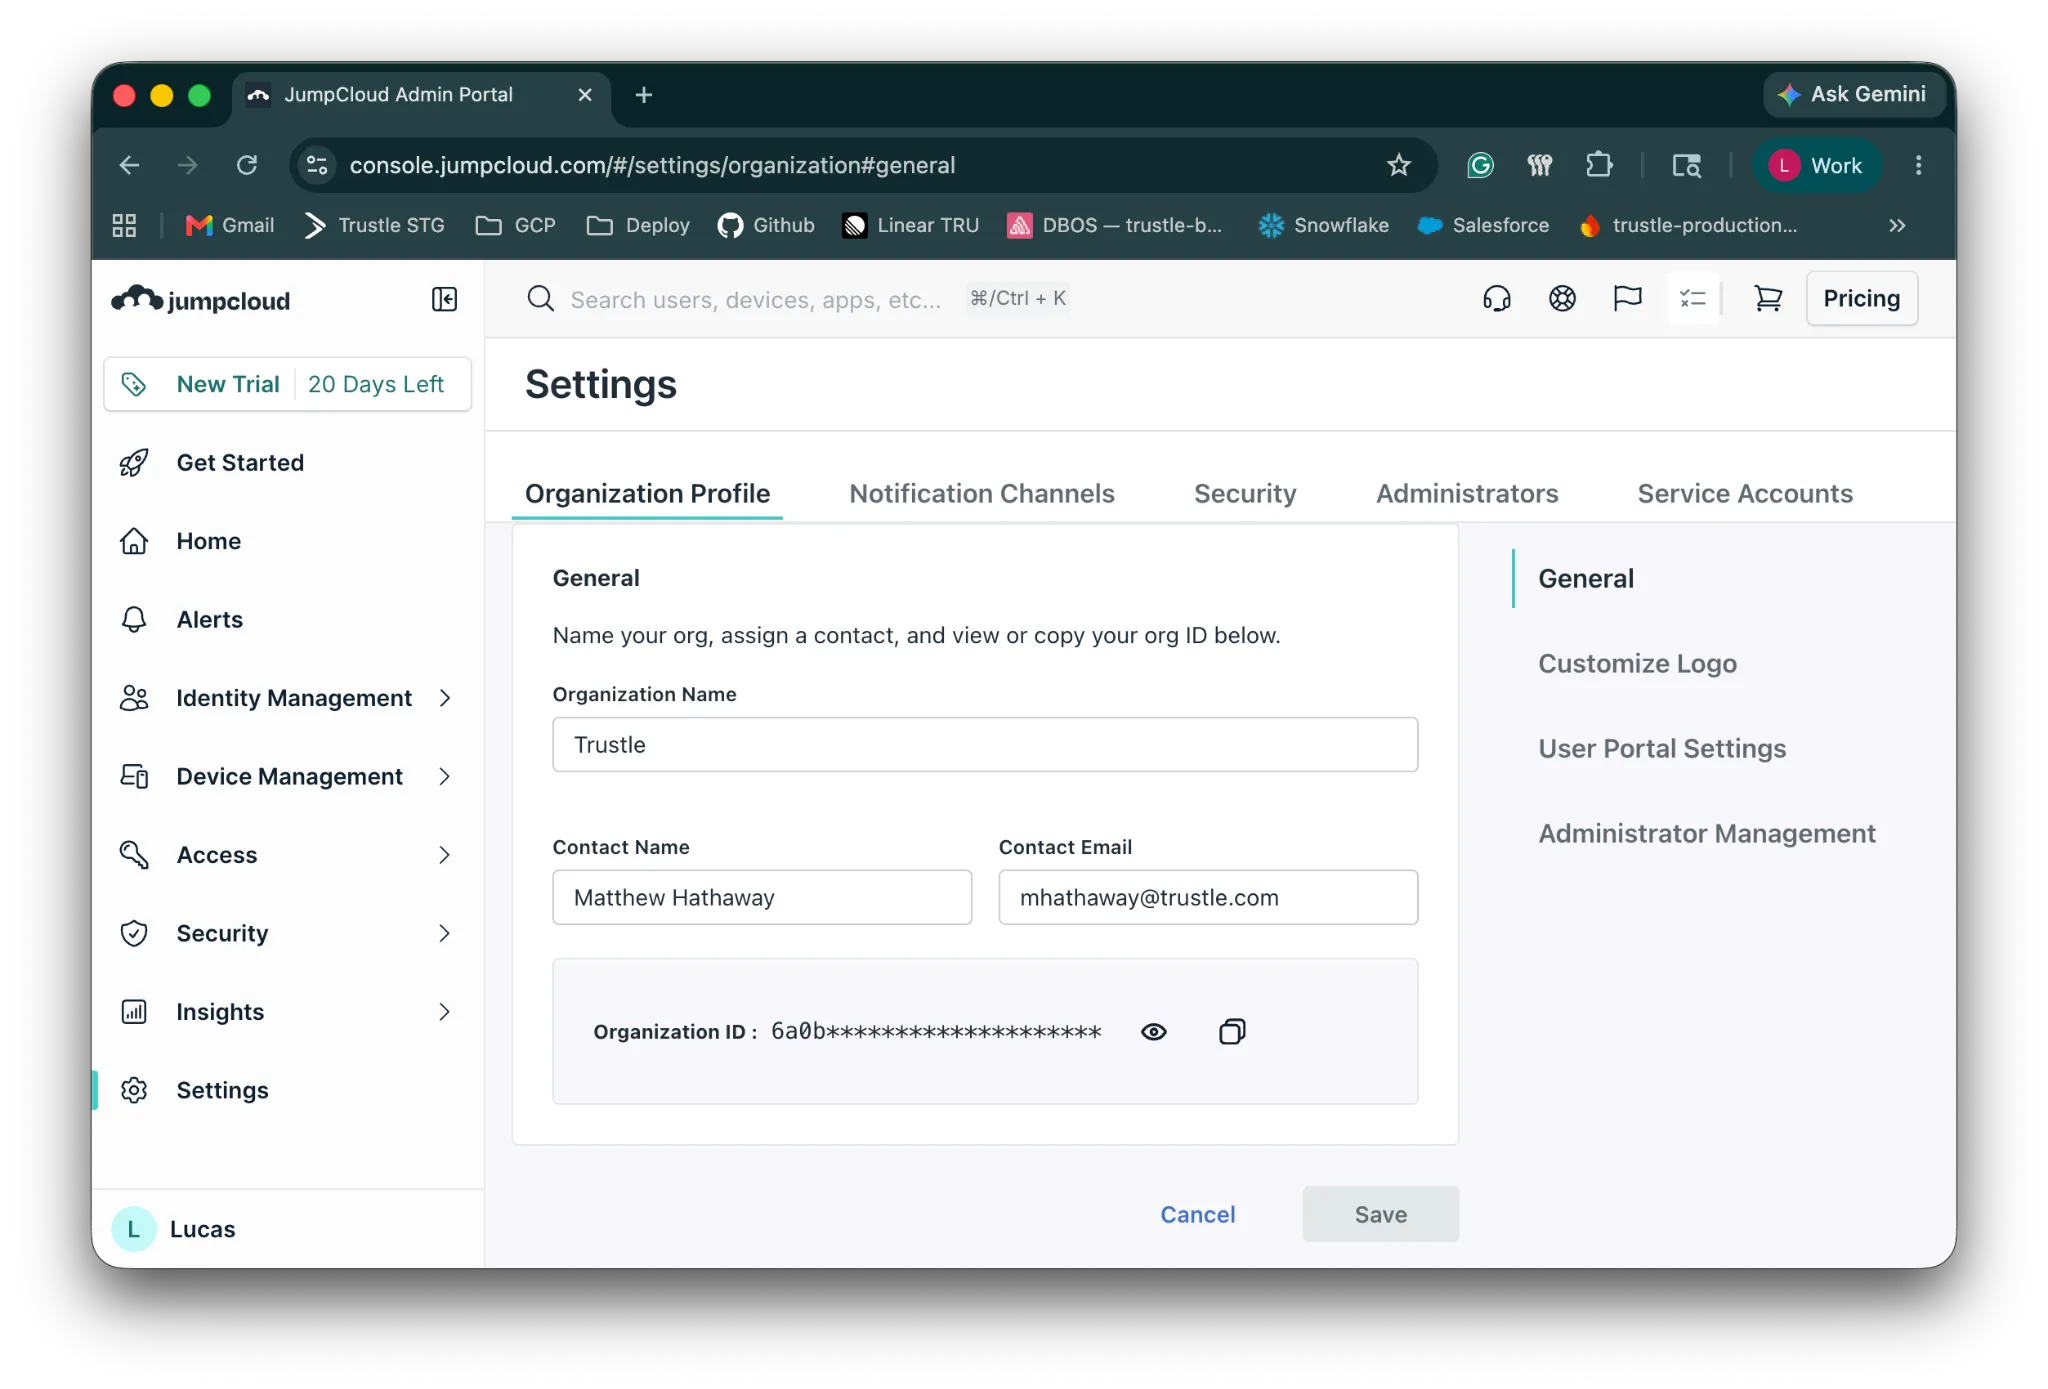
Connect in Trustle
Section titled “Connect in Trustle”- Go to the Connections page in Trustle from the left menu.
- Under Identity Providers, find the JumpCloud logo and click Connect.
- Fill in the connection form:
- Connection Name: a descriptive name, for example “My JumpCloud Connection”.
- Organization Id: the organization ID you collected above.
- Client ID: the client ID from the service account setup.
- Client Secret: the client secret from the service account setup.
- Click Test Connection.
- After the connection test succeeds, click Save Connection.